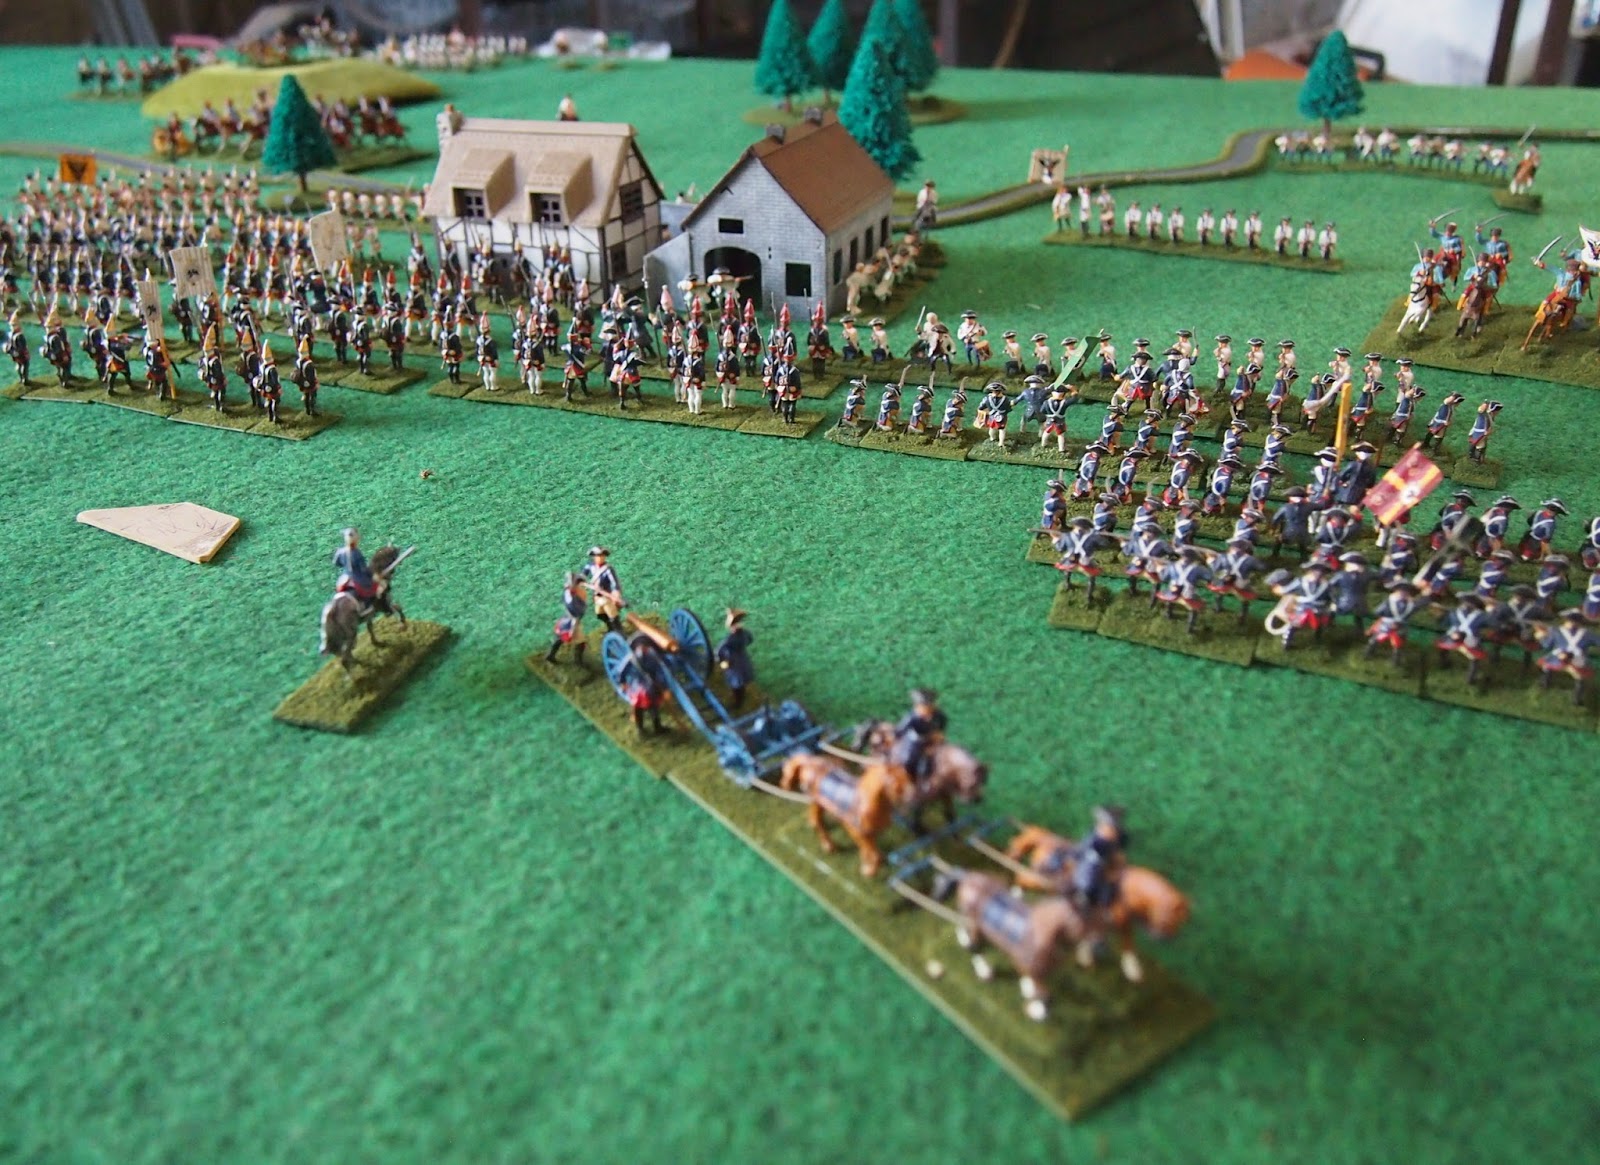
For our final game for 2015, Mark and I were joined by Stephen from the NWS (one of our ANF-urbanites) for another 'seventies-style' game of a fictitious Seven Year's War battle using our version of the Zimmermann rules.
Have a look through the photo-report below to see how we went from this...
to this:
Two views of the table at the start of the game (below), Prussians at right, Austrians at left.
The objectives, with variable points-value for each side that was unknown to the player(s) from the other side, were the three villages along the stream, which was fordable along its length, and the farthest hill).
The race for the last objective mentioned above: the hill on the Prussian right (Austrian left).
Austrian heavies contest the position with Freicorps hussars. This ain't gonna be a fair fight.
To the left of this, a more even contest 'tween opposing cuirassiers,
the charging Prussians getting the upper hand on this occasion, despite losses from carbine fire from their stationary foes.
Bad news for the Austrians as two other units of Austrian cavalry panicked and retired with the retreating cuirassiers. Poor rolling Stephen!
Overview of the position on this flank, the Freicorps hussars survived the mêlée with the cuirassiers, so have scarpered, rallying at table's edge.
At the other end of the battlefield, the armies advanced to contact one another.
It's gonna get hot in the centre soon.
Back to look at the end of the table which featured the initial cavalry action (hill just out of photo at the bottom).
In they go! Cavalry mêlée at the other end of the table.
This time, the Prussians got the rough end of the Ananas,
and retired 'en masse'!
Back on the Prussian right, the cavalry action continued.
The Austrian cuirassiers decided to finish off the Freicorps!
It went as expected.
The main mêlée was roughly even, but the Austrians had more cavalry to use/lose.
Back to the Prussian left, the cavalry have rallied.
Having lost the strategic village due to the retirement of the cavalry on the left flank, the 3rd Brigade tried to exert pressure to assist the situation...
and the 2nd attacked the next village to the right.
In the centre the Prussian main attack went in, grenadiers on the left, 1st brigade to their right and guard behind.
The lead battalions of grenadiers failed to take the town, so up came the Guards.
Meanwhile on the Prussian right, things had gone from good, to less good,
to bad,
to worse!
Frederick was forced to send most of the light cavalry to the 'rescue'.
Would they arrived in time?
Meanwhile, on the Prussian left, the 2nd heavy cavalry,
3rd brigade,
and 2nd brigade, were making headway.
In the centre, the quality and hitting power of grenadiers and guards was acting as the l'arme blanche.
The Freicorps hussars attempted to make up for their ignominious start in the battle by acting as the 'decoy'.
As the battle approaches its climax, let's look across the table from (Prussian) left to right.
The 2nd Heavy Cavalry were in an arm-wrestle with the Austrians,
but the 2nd and 3rd brigades continued to make headway,
as did the grenadiers and guards.
Not so good on the Prussian right, as most of the 1st Brigade panicked at the retreat of a unit of their brigade that was successfully charged in the flank by Austrian cuirassiers.
Would the Austrian horse wrap-up the Prussian flank?
A turn is a long time (actually scaled as one hour in this set, haha!!).
The Prussian heavy cav. got the upper hand on the left, several Austrian units panicking, at the breaking of friends.
The second town looked ripe for the taking,
as did the central town, as the Prussian élites continued to throw their weight around.
The Prussian hussars arrived to contest the ground with the Austrian cavalry.
At the end of this, the sixth turn, both sides were required to take an army morale test at 1/4 losses. The Prussians passed, but the Austrians failed and so retired. The game was thus a Prussian victory—just!
We thought this a reasonable result we given the battlefield situation.
A huge thank you again to Mark for providing troops and venue and to Stephen for making the 100+ km trip to join us for the day.