Phil takes up the photo-commentary for part two.
____________________________________
It’s hard to imagine it on this dreary rain swept afternoon but I refought the second part of the battle of Tolentino on the actual 200th anniversary back in May. Once again I opted for a largely historical deployment. D’Ambrosio, who historically was wounded in the first battle, was replaced by D’Aquino. His lesser talents are reflected by a -1 morale, one less dice for firing and a command roll whenever they are asked to take a fresh offensive action.
Lecchi was sent on a wide flanking movement (as in 1815).
Neapolitan reinforcements are expected from 12:00...
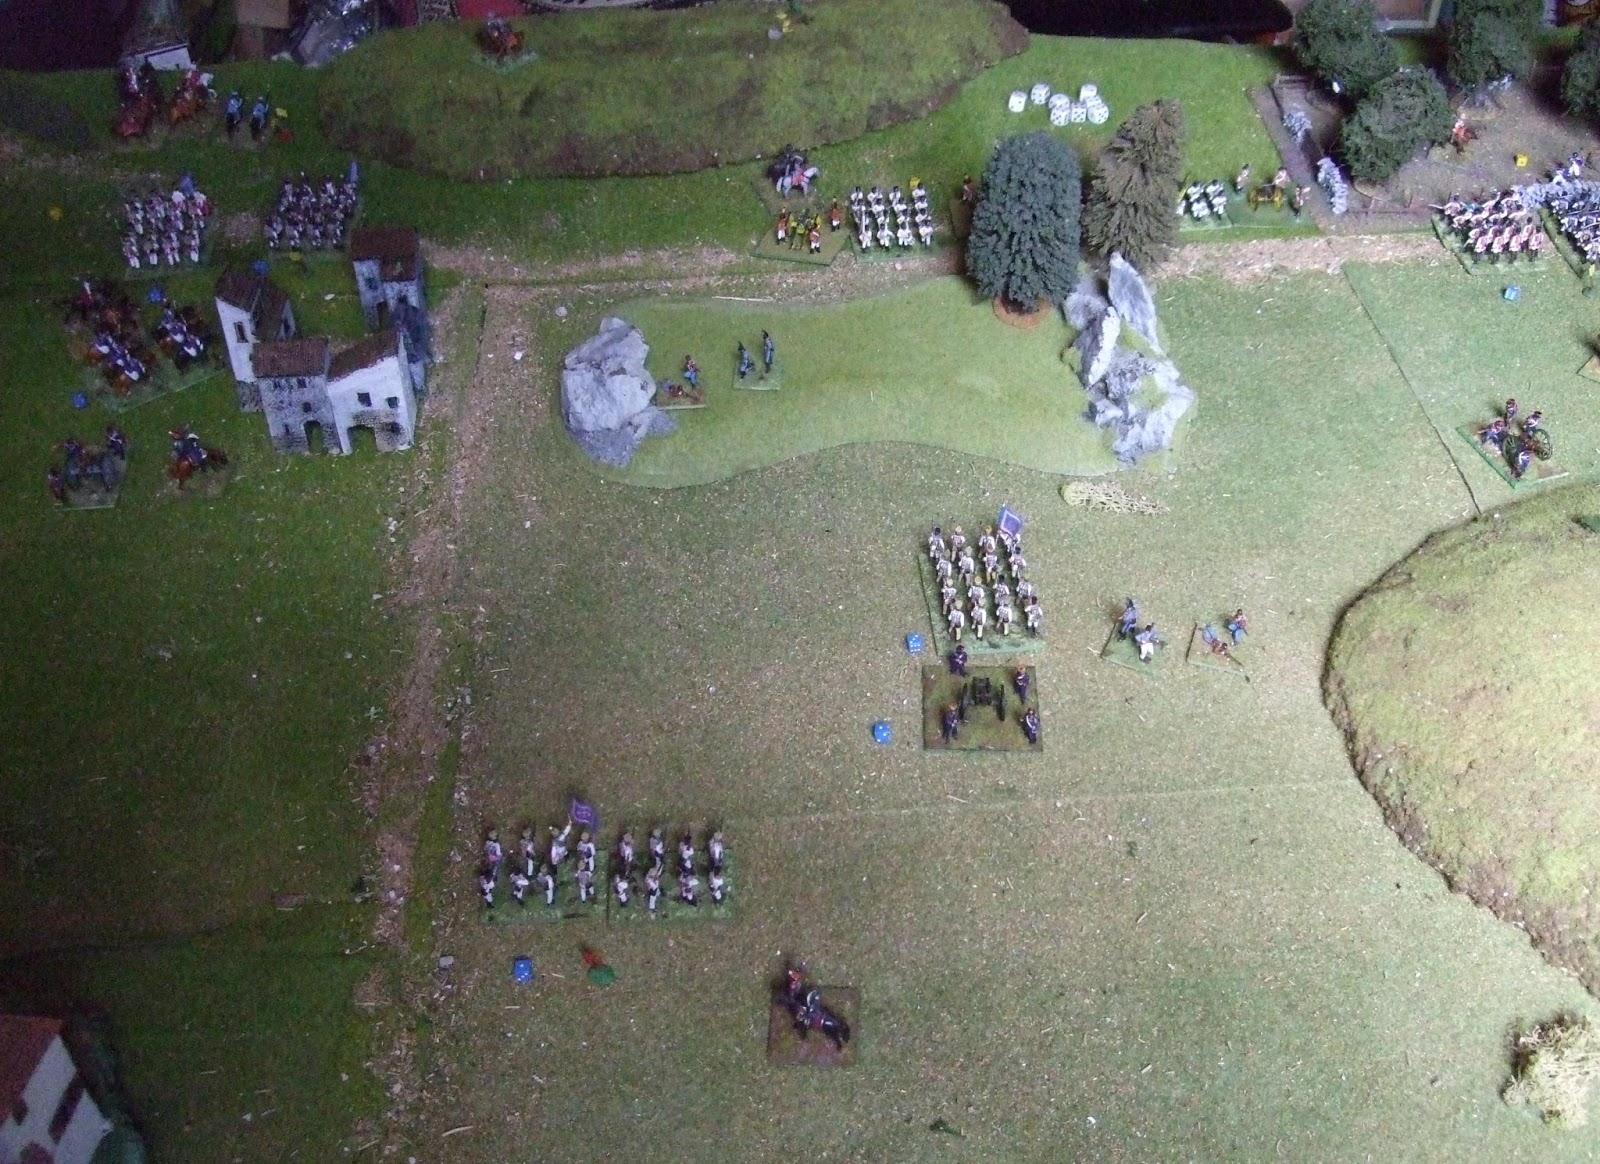
Turn1
Lecchi’s flanking move gets off to a slow start

D’Aquino’s demoralised troops refuse to move from Monte Milione.

An exchange of artillery achieved nothing – just getting the range
I guess!


The Austrians remain in their strong defensive position and their
heavy fire destroys the 4th Light Infantry Regiment – Things are not
going well for Murat!

Turn 2
Lecchi’s flank move (its movement determined randomly) is progressing
at a snail’s pace.

The Guard cavalry spearheads the attack on Murat’s left, bowling over the Austrian Hussars and destroying them.

The Guard Voltiguers attack one of Eckhart’s Regiments which
retreats but the Velites are held up by Casone’s stout walls:

Things go badly for the Neapolitans as both of their attack columns
are repulsed with losses.

On the right D’Aquino is finally moving (if slowly) but the
presence of an Austrian Dragoon regiment forces his right-hand unit to form
square.

Turn 3
D’Aquino’s remaining units press home their attack and force the
enemy to retreat.


In the centre Pignatelli’s division fail in their attack and fall back but The Velites take Casone and the Guard Voltiguers force back their opponents.

The Light cavalry fails to take the Austrians unawares and are sent packing (rear of photo).

The Flanking move progresses (5 whole inches!).

The Tuscany Dragoon Regiment presses home its attack on the square but are defeated:

Along the whole front the action degenerates into desultory
skirmishing.
Turn 4
Murat cranks up the
pressure and the Austrian right disintegrates under the attacks of the Royal
Guard and suffering (in game terms) permanent disorder- the remnants flee
towards Tolentino.


In the centre however Pignatelli’s men stay put, out of range and
on the right D’Aquino’s attack grinds to a halt as his men will not close with
the Austrians.

Their position now outflanked, the Austrians retreat.
Turn 5
The Guard cavalry catch and destroy the units fleeing to Tolentino.

It is at this point that, from an Austrian perspective, I become
aware of the enormity of the error in commiting the Dragoons to attack a fresh
unit of troops in square as they are unable to take advantage of the successful
but damaged and disordered units of D’Aquino’s division, who now rally
undisturbed.
Pignatelli’s troops in the centre advance cautiously and the
Austrians retire to their final defensive line while their light infantry
maintain a harassing fire across the line.

Turn 6
Turn 7
Both sides consolidate their positions and there is little action.
Turn 8

Turn 9
D’ Aquino gets a lucky roll and his depleted troops launch an attack on the Austrian left, forcing them back and the Guard Artillery cause another points worth of casualties. Bianchi now has a total of 4 points of infantry and one artillery battery remaining (plus 4 skirmishers).

The Neapolitans are also pretty battered with 2 divisions now at
exhaustion point and unable to attack. However Murat has fresh troops arriving
and Lecchi’s flanking force is now also in play it has to be said that only the
Neapolitans are in a position to carry on so I must award victory to Murat. To
be honest it is hard to see how he lost the historic battle (even he could
hardly believe it).
I think in a wargame, even if you give one side a handicap it is
rarely sufficient to overcome a significant numerical superiority. On balance
it could be said that the Austrians were lucky to win in 1815 and in 2015 they
just weren’t...
Nicely done James, beautiful buildings and armies here!
ReplyDelete