Monday, 3 March 2014

Skirmish Battle of Zwickau, 1st September 1813

Cossacks!

This was another game as part of the Campaign of Nations.


A clash of cavalry forces occurred just to the north-east of Zwickau in southern Saxony. The path of Colonel Bergmann's first division from Platov’s Cossack corps was blocked by French-Allied light cavalry (Westphalian and Württemberg) commanded by Général de brigade Bruno. The French-Allied troops had been ordered to determine the movements of the enemy and to stop or to slow them; if they could. The stage was set for a sizeable cavalry clash.

Extract from the campaign map showing the location of the clash.

The skirmish-battle took place in a broad valley with gently undulating terrain, broken by a few woods and some gentle hills towards the north/north-west.

Général de brigade Bruno’s French-Allied cavalry force consisted of his own 22nd Light Cavalry Brigade and the 24th Light Cavalry Brigade under Generalmajor von Jett. They were represented on the table by four units of French-allied cavalry. These were well supported by artillery with two horse batteries and a foot battery of 12 pounders! An artillery guard unit was formed from the sappers and train battalion.

Colonel Bergmann's division of Platov’s Cossack corps comprised four regiments. Each regiment had anywhere from 3000 to 5000 men, so, with only about 1/3 of the Russian force able to 'engage' in battle, they were represented by 11 units of Cossacks. These had ridden ahead of their corps artillery, so had no guns in support.

Victory was determined from the number of unbroken Cossack units that exited the north-east table edge, the number of turns before the last unbroken Cossack unit exited the table and the number of broken Cossack units.

In the end, these complex victory conditions were not required.

 The two sides face off, ...

 and rapidly move to contact.

 One unit of Cossacks eludes the defenders.

Two more turns of successful mêlées and accurate artillery fire (for the French-allied side) and it is all over. 

The remaining Cossack units retreat to the table edge.

Above and below: the French-allied horsemen and gunners in clear control of the battlefield

The Cossacks were unable to get past the French-Allied troops. The preponderance of guns was particularly telling, with French, Württemberg and Westphalian gunners all 'on song' (i.e. this was the most one-sided combination of my good luck and my opponent's bad luck that I've had in ages!).

Eight of the eleven Cossack 'units' were 'broken' and none were able to get past the French-Allied line. In Shako it only requires two 'hits' to break a Cossack unit, so we deemed that they have tried some attacks on the French-Allied troops and, finding that they were a tough nut to crack, dispersed to look for easier opponents.

Saturday, 1 March 2014

Battle of La Rothière, 1st February 1814—Part 1

The Pressure Mounts

We began this, our first bicentennial game for 2014, on 8th February, i.e. 200 years and seven days since the original...

Here are some views of the initial set-up.

The cold, snow-covered battlefield contrasted nicely with the mid-thirties (ºC) of the real world. Here we are looking roughly east, with Dienville and the River Aube in the foreground, the former defended by Gérard's Provisional Corps. La Rothière is in the centre of the photo.

At the other end of the table we see the town of La Giberie, defended by Porliers' division of Victor's II Corps, with Stockmayer's division of Eugène of Württemberg's IV Corps moving to the attack.

Looking across the table from the (roughly) east.

Looking over Dienville towards La Rothière; Gerard's troops in the foreground.


Stockmayer's division moves to attack Porliers' weak defence around La Giberie.


Panchulitzev I's dragoons, closest to camera, and Lanskoi's hussars moving in support of Stockmayer's and Bernadosov's divisions.


First combat: Piquet's 10e hussars charged the lead unit of Talysin's division. The latter formed square, so the hussars 'bounced' with modest losses.

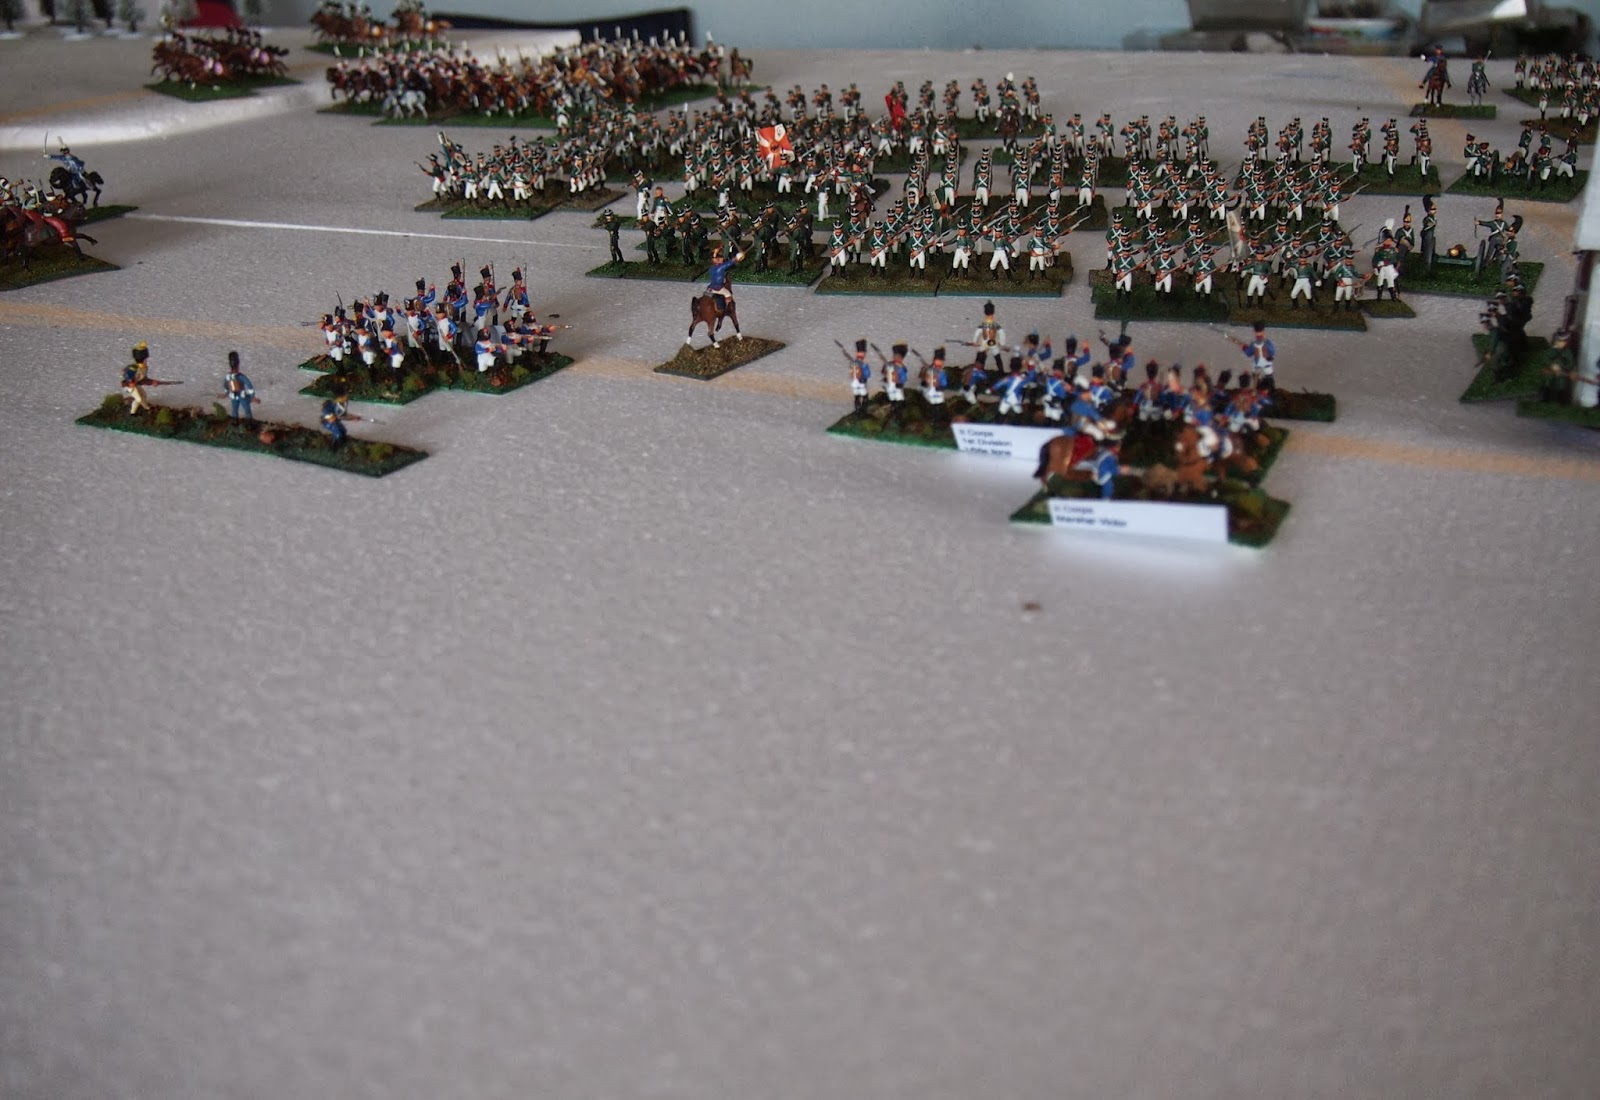
Meanwhile, to the left (east of this action), Bernadosov's 28th and 32nd Jäger moved to attack Duhesme's division (Victor's II Corps) in and around La Rothière.

View of part of the table from the French side. Napoleon (near bottom-centre of the photo) has sent new orders to Milhaud's cavalry, which is stationed between Petit Mesnil and Chaumesnil (roughly top-centre of photo).

Porliers opted for a defensive retirement in the face of the onslaught.


Looking eastwards once more.


Here come the Austrians! Gyulai's III Corps begins its flanking attack towards Dienville.


The 1e gardes d'honneur (heavily disguised) keep Talysin's lead units in square while, to their left, the first assault goes in against La Rothière.

Bernadosov's troops attack along the line...


with the support of Lanskoi's hussars to threaten the left flank of Duhesme's division.


Nansouty to the rescue? He sent forward Guyot's guard heavy cavalry; old guard grenadiers à cheval on the right and young guard on the left (those cuirassier figures are a figment of your imagination... i.e. used to make two units from one).

Briche's 2e and 6e dragoon's ganged up on Panchulitzev I's Kurland dragoons (played here by none less than the "mighty" Moscow).

Gyulai's Austrians look impressive, but, with the impassable Aube on their right flank, will they be able to force the bridge at Dienville?

A good turn for the Allies i) La Rothière taken on the first attempt.

A good turn for the Allies ii) La Giberie in the hands of Eugène (of Württemberg)'s national troops.

(Above and below) a good turn for the Allies; ruined! Lanskoi's and Panchulitzev I's cavalry came off the worst against Guyot's guard cavalry and Briche's dragoons respectively. Beaten back, but not broken.

Lets' pause to take stock of the situation.
In the foreground, Gérard's troops have advanced beyond Dienville to support Duhesme (1st Division of Victor's II Corps) who are holding against the strong attack from Talyzin's 7th Infantry Division (Sacken's VI Russian Corps).

Gyulai's Austrians are moving steadily through the snow.

Down and in close we see plenty of green coats against Duhesme's thin blue lines around La Rothière.

Stockmayer's and Von Koch's Württembergers of Eugène's IV Corps of the Army of Bohemia are making good progress against Porliers' division of II Corps...

as von Wrede's lead Austro-Bavarian divisions begin to pressure Marmont's position on the French left flank.

Back with the action, Bernadosov's second concerted attack broke through the first line of Duhesme's defenders.

Guyot's Empress dragoons and Marmelukes move to support Duhesme's right but, off to the left...

the Young Guard grenadiers à cheval were caught blown and stationary by Lanskoi's Alexandria hussars and easily broken.

Vorwärts!

A stroke of good luck for Duhesme at last with his division passing it's morale test at 50% losses.

West of La Rothière, Gérard has moved his troops further forwards in support of Duhesme's right flank.

At the eastern end of the battlefield we see the concave mass of von Wrede's corps as it moves inexorably towards the French left defended by Marmont's weak 'corps' (comprising only Lagrange's division).

Yet, the centre is all French at this stage. L'Heritier's dragoons have joined Briche's and have nearly driven off Panchulitzev I's Russian horsemen. However, a crucial bit of luck to match Duhesme's sees both they and Lanskoi's cavalry rallying on-board and pass their crucial divisional morale tests.

I'll conclude this report of part one with a pictorial summary of the game at the end of the 15:00 turn (Turn 5). No words, so that you can hear the blizzard, smell the smoke and feel the intensity of the struggle!

I'm relieved and pleased that the scenario appears to be working out well, since I took huge liberties with the scales. I calculated the units at 1:33 (down from the usual 1:50–1:60) and scaled up the terrain to 1:2 (mm:m) from the usual 1:1 (mm:m). Not one for the purists, but it seems to have worked—at our scale of approximation, at least!


It was a pleasure to have two of our honorary members of the ANF, Mark (aka Marc for this game since he is leading the French left flank) and Stephan (aka Stefan since he is playing as von Wrede, the Bavarian traitor, for this game—writing with my Franco lens fully on!!) join us for this opening gambit. We intend to complete the game this coming weekend (8th March) and, all going well, they will be joining us again.