Tuesday, 3 July 2018

19th April 1809 twin battles: Inaugural games at the new venue

A recent long weekend provided the timing and two battles from the 1809 campaign the action for the inaugural games at our newest venue, the Ralf Fisher Memorial Room (aka ANF Annexe 2).


My hope/plan for my part of our games in 2018/19 is to work through battles from the 1809 campaign. The battles of Raszyn (above) and Teugen-Hausen (below), roughly corps-scale actions which occurred early in the campaign (19th April 1809), were for the purpose.


Day one: Battle of Raszyn


The Austrians entered Poland at the outset of the campaign, expecting a quick victory that would secure Galicia and encouraged the Russians to enter the war. Prince Poniatowski deployed his untried Polish army, supported by a small contingent of Saxon infantry and guns, behind the Rawka (Mrowa) River around the town of Raszyn to defend Warsaw against Archduke Ferdinand d'Este's numerically superior force.

I had a scenario for Raszyn more or less developed, based on Peter Anderson's Blunders on the Danube scenario along with the one in Shako/Fields of Glory (also looking at those for Grande Armée, Volley and Bayonet and Age of Eagles) with the order of battle from John Gill's excellent Thunder on the Danube.

For this game, Stephen and Mark took the Austrians against Biko, Julian and me.


My map of the battlefield (above) and an overview of the tabletop (below), showing how the map was adapted to suit my available terrain squares. Raszyn is at centre-left, Falenty roughly in the middle, The area 6" either side of the Rawka is muddy and marshy, reducing movement to the roll of a D6.

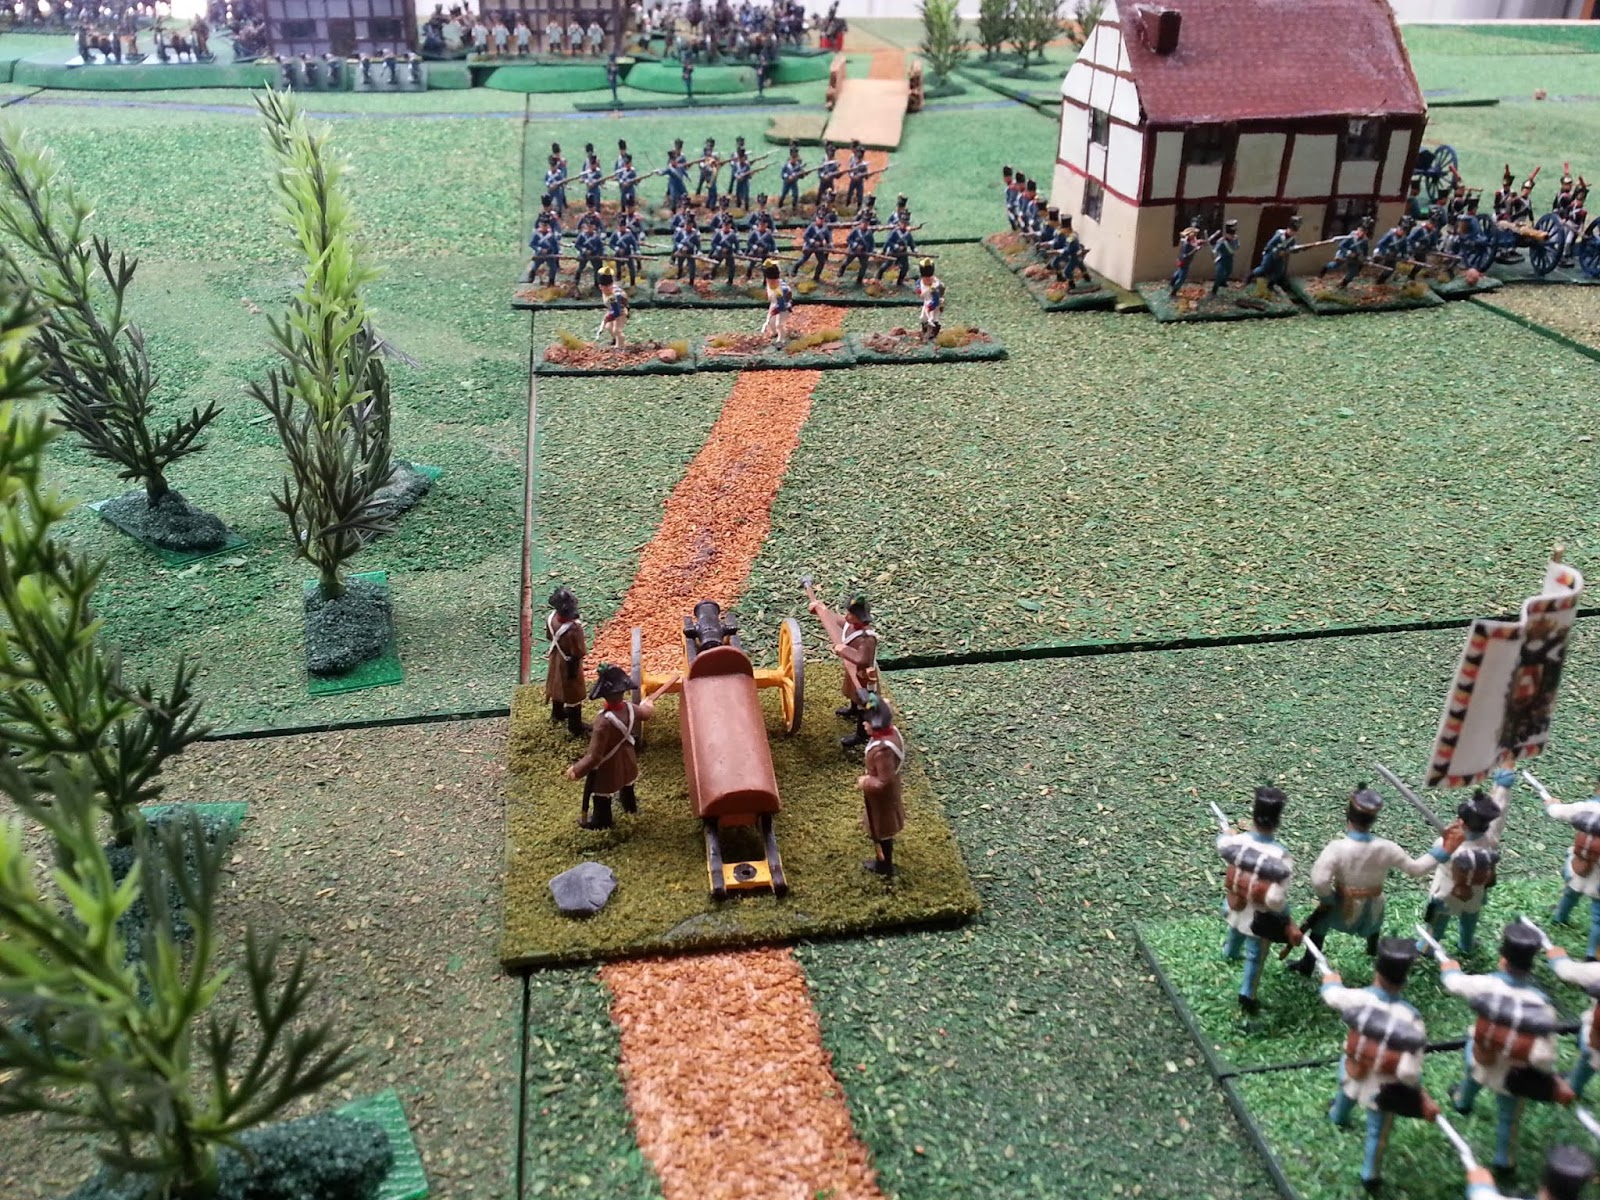
A closer look showing Raszyn (centre-left of photo above) defended by von Dyherrn's Saxons and Poles, Rozniecki's cavalry in reserve behind and part of Bieganski's small force around Michalowice at the bottom of the photo. In the top right Baron Mohr's Austrian's are moving to attack Sokolnicki's advance guard posted in and around Falenty (shown in close-up in the photo below).
(The French infantry are standing in as Poles. Regular readers will be surprised to hear that my painting ambitions yet again outstretched my output—not!)

Early success for Mohr's infantry.

The remaining Austrians arrived on the battlefield.

Needed reinforcements as Sokolnicki's infantry were holding strong in Falenty.
Ooops. There goes the artillery support!


Sokolnicki was feeling more isolated, but Poniatowski, unlike his historical counterpart, was reluctant to leave the defensive position behind the Rawka. A tactical mistake, perhaps?


von Sharouth's cavalry moved to outflank the Polish left.


"That may be; that may be, but we will match them with our lancers."


After a solid defence, Sokolnicki's command was demoralised, then retreated.


The Austrians advanced towards the causeway.


On the Polish left, Kamieniecki's artillery near Jaworow prepared to greet Sharouth's cavalry.


The Polish artillery was ineffective. Delayed by the mud, but not stopped, the Austrian heavies attacked, broke the battery, but were counter-charged by Rozniecki's lancers.


In the centre, Civalart's lead infantry drove across the causeway towards Raszyn.


Success at the first attempt!
Austrians advancing everywhere. Here we see von Pflacher's infantry trudging through the mud around the Rawka.


Back on the Polish left, the Austrian cuirassiers were on fire. Could nothing stop them?!


The Saxon's in Raszyn drove back an attack on the town,...
... while the Poles counter-attacked against the Austrians pouring across the causeway.


It was beginning to look bleak for the Polish left, Rozniecki's cavalry defeated, a lone square holding back the Austrian horsemen.

Turn 12, the last of the game.


The Austrians successfully captured a sector of Raszyn, but the drive across the causeway had been somewhat blunted, although what remained of Sokolnicki's advance guard had been broken in the process.


The Polish left n'existe plus!


At game's end, the Saxo-Poles continued to hold 2/3 of Raszyn, but had lost Falenty and three divisions (Sokolnicki's advance guard, Rozniecki's cavalry and Kamieniecki's division that had been defending around Jaworow) while the Austrians had only Mohr's division in retreat.


A clear tactical victory to the Austrians. As with the actual battle, the Poles would have to retreat, but with far greater losses than historically.


Day two: Battle of Teugen-Hausen


Teugen-Hausen is one of the best known and oft-wargamed smaller actions of the Napoleonic wars. The Austrian advance into Bavaria in April 1809 caught the partially formed French-allied army, which was under the temporary command of Berthier, spread out and in a state of command limbo. Most isolated of all was Davout's III corps which formed the left of the extended line near Ratisbon. Seeing a chance to catch and destroy Davout's isolated corps, Archduke Charles ordered Hohenzollern's III Korps to attack.


Map showing the manoeuvres around the Danube on the 17th–19th April 1809 (Source:  Department of History, United States Military Academy, Wikimedia Commons).
The Austrian attack of 19th April (Source: The Napoleon Series Map Archives).

For this game we simply used the order of battle from Peter Anderson's Blunders scenario with the table based on the simplified battlefield in James Arnold's Crisis on the Danube (a scenario that I had used to do a refight of the battle with my dad in the mid-90s). I used elements of both scenarios to determine the arrival of reinforcements.

Stephen and Mark once again took the Austrians, but I was joined by John to command Davout's French (Biko and Julian not being available).


Amazingly, we were able to use much of the terrain set-up for Raszyn for this game(!), hence the similarity to the previous table. The majority of the are Austrians advancing towards or deployed around Hausen (at left of photo above) while Vukassovich's advance guard is to the north on the ridge across the stream, this time fordable (except for guns). St Hilaire's 4th division is around Teugen (right of photo above), apart from the 10e légère which are isolated to the west.


Bavarian castle in the Brickner Först added for humorous and artistic effect!


Aerial view of the initial deployment.


Davout assesses the Austrian attack.


Fire!

Both sides attacked.


Davout shelters in a square of the 57e ligne as the Erzherzog Ferdinand hussars (heavily disguised) charge.


Meanwhile, the 3e ligne and Peterwardiener Grenz come to grips.


The Austrian beaux sabreurs were unable to break the infantry square.


Lusignan's 1st division advances through the wood to support Vukassovich...


... as the action hots up on both ridges.

Friant's 2nd division arrives to bolster the French.


The Austrians too receiving much needed support, in the form of (Justin) Bieber's brigade.


Vukassovich's Kaiserlichs seemed to be getting the better of the struggle with St Hilaire.


St. Julien's Austrian second division advanced on Vukassovich's left.


The Austrians were advancing everywhere.


Even capturing the northern ridge before Teugen (for now, at least).


More help for St Hilaire with the arrival of Gudin's 3rd division.


Justin Bieber was not concerned.


The northern ridge re-taken, Davout formed a grand battery. A pleasing sight for French eyes.
Boom!


All troops committed, frontline troops engaged and very much in the balance.


The Austrian corps reserve artillery (some heavily disguised as Prussians) moved into position between Vukassovich and St Julien.


They made an imposing sight for Friant's infantry (fortunately for the French, the Austrians had miscalculated—Mark finding the error and removing one battery before any firing).
  
Gudin began to get the upper-hand against the 'young' Bieber (I'm sure that GM Josef von Bieber was not a young man...)


The balance had tipped clearly in favour of the French with Gudin advancing on the right (above) and Friant and St Hilaire on the left (below).

With the French ascendant across the battlefield, and night falling in the real world, we called the game as a clear French victory.


The Iron Marshal encourages his troops as they drive off the last of the Austrian resistance.


Wash-up and thanks

The two games mirrored the historical battles, but with more decisive victories in both cases.


It was great to have Stephen, Mark, Biko, Julian and John as players in these inaugural games. A special weekend with wargaming mates; what better way to 'open' my wargame room and to enjoy a long weekend?!

A great big, public thank you to Stephen for coming out for the weekend, for all your help moving the junk from our garage and helping to set up on the table on Saturday and in setting up the terrain for both games. Also for providing some beaut photos of the weekend and the games, some of which I have included here.


Thanks, as ever, to Mark and Julian 'cause it would not have been 
much of a game / weekend without you both and the Austrians!

Last but not least, thanks to Mark 'Biko' and John for making the trek out to join us. The first of many games in the new venue, I hope!


Reference material used for the games
  • Arnold, JR (1990) Crisis On The Danube: Napoleon's Austrian Campaign of 1809. Arms and Armour Press, London. 286 pp.
  • Gill, JH (2014) 1809: Thunder on the Danube: Napoleon's Defeat of the Habsburgs. Volume III: Wagram and Znaim Pen & Sword Books Limited, Barnsley, South Yorkshire, UK. Paperback Edition edition. pp. 9–20 & Appendix 1.
  • GRW (2008) The Battle of Raszyn—Age of Eagles Scenario. http://napoleonicscenarios.weebly.com/uploads/2/3/7/7/2377799/raszyn_1809.pdf
  • Hamack, C. (n.d.) The Battle of Raszyn 19 April 1809 a Grande Armée scenario. http://www.deepfriedhappymice.com/GA_Scen_Raszyn.pdf
  • Kowalik, J., Black, P.B., Sorensen, L. and Swietliczko, S. (n.d.). Battle of Raszyn April 1809. Napoleon, His Army and Enemies. http://mapswar2.x10host.com/Raszyn_battle_War_Campaign_1809.htm
  • Leach, C and Conliffe, A (1997) Raszyn April 1809. In. Fields of Glory: Historical Scenarios for Corps Sized Napoleonic Battles in Miniature. Quantum Printing, New York, NY. pp. 18–19.
  • McNelly, K. (n.d.) Raszyn - 19th April 1809. https://volleyandbayonet.wordpress.com/napoleonic-scenarios/


Friday, 15 June 2018

A Grim Fairytale: Reichenberg, 21st April 1757

In an earlier post I introduced the wonderful terrain that Mark put together for this refight of the Battle of Reichenberg.

The 'soft lens' effect was a mistake due to me mucking around with my camera, but it looks a treat, I reckon. Gotta love serendipity!

The Battle

If you are not familiar with this small action of the Seven Year's War, then I recommend the description on the excellent Kronoskaf website.

To set the scene, the Austrian commander, FZM Christian Moritz, had split his army between the heights around Reichenberg, south-west across the River Neisse to one side of the hills that creates the valley around Rosenthal and still further south-west in the hills (mountains) around Franzensdorf. He had spread his army of a mere 13 200 foot and 3 500 horse over a frontage of some 4 km, albeit behind fieldworks.


Map of the Battle of Reichenberg. Source: Project Kronoskaf (original source Kriege Friedrichs des Grossen, volume III by the German Grosser Generalstab).

Seeing his opportunity, Prussian general von Bevern ordered an immediate attack, his 3 100 horse against the larger Austrian force and 11 450 foot, supported by 12 heavy guns, against the centre of the Austrian divided defence.

The Game


Never one to be predictable, Julian, commander of the Austrian right wing, performed one of his 'Julian manoeuvres'. To be fair, he did so to avoid casualties from the Prussian artillery, but in doing so abandoned his earthworks and set himself a race against the clock to get back into position.

Prussian cavalry (at centre-left of photo) advance to attack their more numerous and heavier foes, also advancing.

In the historical action, the Prussian cavalry swept the Austrian horsemen from the field, causing Moritz to lose confidence and order a retreat. This was not to be in our case.
The Prussians lead hussars and dragoons lost the opening mêlées to Mark's Austrian dragoons. Most of the supporting units panicked and retreated with their countrymen!

Fortunately, for me, the Prussian cavalry rallied. The infantry advanced over the hill to prepare to attack the Austrian positions across the valley.

With strength reduced from the earlier mêlée, the Prussian dragoons took on the Austrian cuirassiers.
Julian got lucky—or perhaps timed it perfectly?—reoccupying the earthworks just in time.

The Prussian infantry's onslaught commenced.

Success in the centre, less so against the earthworks. A Prussian army test at 1/3 losses was duly passed.

Then, a critical moment. Mark's weakened unit in the earthworks (top right of photo) won a close-fought mêlée (which required a complete calculation of the die-roll x figure score for each side, something that we don't often have to do).
My 'brave' Prussians retreated in disorder, joined by several of their lily-livered mates!

The Prussians had gained the upper-hand against the Austrian right, apart from the earthwork, but it was not enough.

Pressure was mounting on the Prussian right as the cavalry had failed again.


With losses at 1/2 for the Prussians and 1/4 for the Austrians, both armies took an army morale test. Fittingly, given the battlefield situation, the Prussians failed and so would retreat.

An Austrian win, against the history.

Losses

Prussian 118 from a total of 228
Austrian 66 (from a slightly larger total that I forgot to record)


It was a most enjoyable, close-run game; the Prussians seemed to have it 'in the bag' until the Austrian critical defence of the central earthworks tipped the scale.

Thanks to Mark for organising and setting up the game and to Julian for hosting at ANF HQ.

(As an aside, this was the last game on the battle-worn terrain sheets. The next land battle at Julian's will feature the renovated version.


Thursday, 14 June 2018

Terrain Renewal, Manna from the Internet and New Venue

May was a quiet month on the blog, but we had plenty happening in our little gaming fellowship, both on and off the wargames' table.

A fine re-fight of the Battle of Reichenberg (21st April 1757) was organised by Mark and played out between he, Julian and me.


A classical b&w photo seems apt for the fairytale, picture-postcard Bavarian terrain that Mark put together!


Here it is in living colour. I'll do a report of the game in a later post.


Terrain Renewal


Keen observers will note that, while the terrain looked marvellous, the terrain boards were looking a bit tired. It is all too stark when one removes the figures and terrain pieces.


We therefore set aside a day in late May to rejuvenate them.


Paint, PVA glue and vacuum cleaner to the fore.


The renewed boards were a pleasure to see.


Even better when laid out all together!


Manna from the Internet


Meanwhile, I had one of those wonderful serendipitous moments.


I happened to be looking at a post on Ion's Archduke Piccolo blog and saw a comment from a fellow asking if Ion would like any of his 1/72nd plastic figures that he was wanting to dispose of. As one who is always keen on second-hand figures, I tracked John from Massachusetts (as I found out he was) via the link to his Wargame Hermit blog and asked if I might get some of his figures.

A couple of emails later, John said that he'd send me a box filled with a 'job lot', for the agreed recompense—cost of postage plus a bit—which was most reasonable in the extreme.


A week or so later, this box full of goodies arrived.


Mark and I spent several joyous hours one Friday going through the contents, a mix of Napoleonic, 18th century, American Civil War, colonial wars, World War I and II, modern and assorted bric-à-brac.


I took nearly 900 mainly Napoleonic and American Civil War figures.


Mark had several hundred 18th Century, including a heap of these 'comic toy soldiers'--something that we'd only ever seen advertised in comics as kids. I remember thinking how great it would be to buy an army for US$2-odd. Ah, the days when you could not easily purchase anything from anywhere in the world...


I was able to send the World War II, modern and 15 mm plastic American Civil War to our friends at the Serpentine group in Albany.


A super 'haul'. Thanks so much again John, this time publicly!


New Venue

Back in 2016, we had a shed installed that was half carport with the second half to be set up as my wargames room. Between one thing and another, it has taken until now but it is finally set up and I'm over the moon.
I now have somewhere to store books, figures and all the other bric-à-brac that can come with our hobby. Not to mention a table to use for wargames!


I have named it the "Ralph Fisher Memorial Room" in honour/memory of the person responsible for getting me into this hobby/obsession.


I moved the old fridge (and chest freezer) into the carport so we'll have plenty of those essential wargaming refreshments easily to hand.


We held the inaugural games in the room over a recent long-weekend (2nd–4th June), playing the battles of Raszyn and Teugen-Hausen, both of which occurred on 19th April 1809, as consecutive games on the Saturday and Sunday.

With the 'opening' of the Ralph Fisher Memorial Room (aka ANF Annexe 2) we have three venues to choose from for our wargames, so there should not be much that is beyond our collective wargames megalomania! hehe :)

Sunday, 10 June 2018

Grand Fleet Actions in the Age of Sail - success in the Bay of Gibraltar

Readers of this blog will know that I have been on a mission to find the right set of Napoleonic naval rules for the ANF to stage major naval actions in the course of a weekend. After a short successful first go http://avonnapoleonicfellowship.blogspot.com/2018/03/its-what-royal-marines-are-for.html, it was decided to try something a little more formal for the second test of Grand Fleet Actions in the Age of Sail, A&A Engineering's take on Napoleonic naval wargaming, henceforth GFA. We chose the Second Battle of Algeciras Bay, which is one of the scenarios in the ruleset, admirably described in detail here:

We elevated the British crew slightly, but downgraded their commander - even I could not bring myself to envisage Rear-Admiral Saumarez as 'brilliant' after his conduct in the previous battle - and reduced the quality of the French and Spanish crews as well, for test purposes..We also assumed the battle took place in daylight and without the loss of the two Spanish 1st rates. 

Sails of Glory have now expanded their range and we were able almost completely accurately to reflect the ships of the two sides. Eagle-eyed shipwatchers will notice that the Spanish 2nd Rate San Fernando is a trifle hefty, whilst both she and one of the Third Rates has a slightly unusual version of the Spanish flag. But these are slight quibbles, Ares is doing splendidly in producing these Napoleonic ships. 

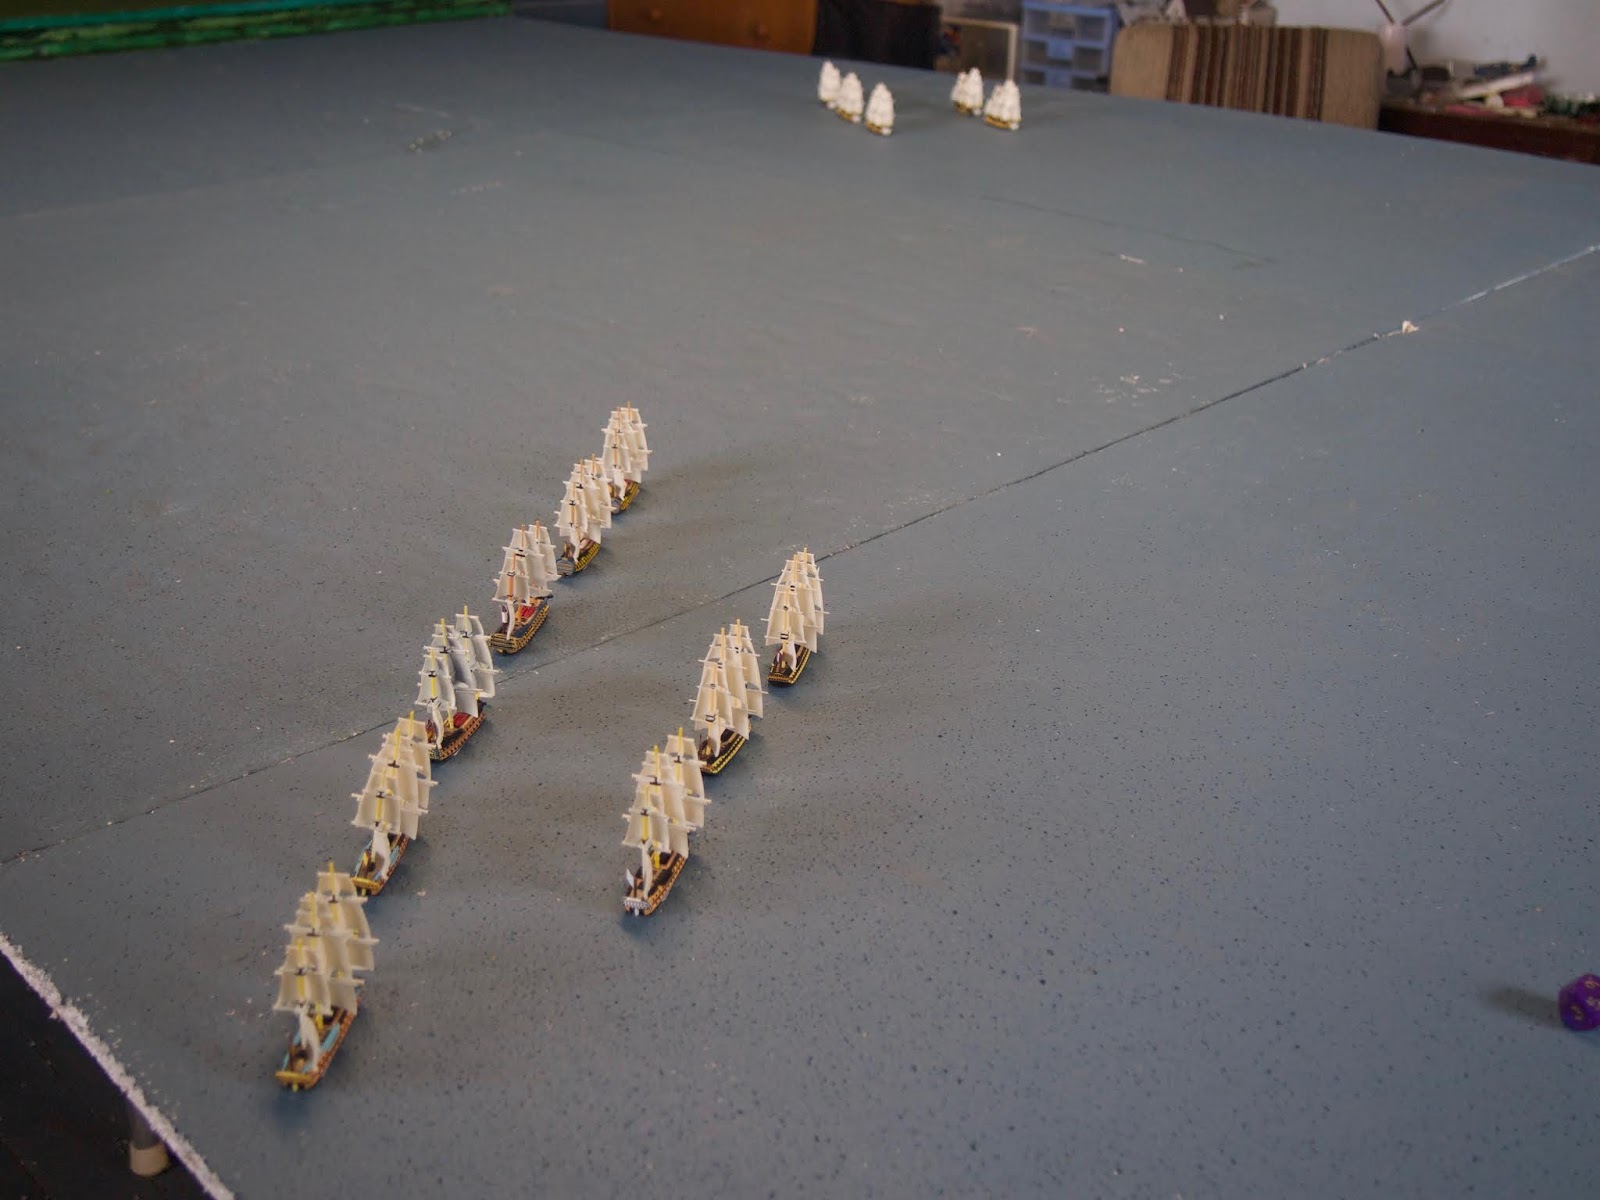
The fleets approached one another. As Saumarez - badly outnumbered - my plan was to simply to steer down his line and cut across to stern rake as many of his ships as possible. The one issue that concerned us was whether the squadrons - two in the Franco-Spanish case, one in the British - would remain within command.The view below from Algeciras town - we simplified by not including the forts. 


The Franco-Spanish plan, I was told after the action, was to sandwich the British fleet between their two lines, but surely the two lines of British ships would make that difficult to achieve?  Movement was straightforward and easy to understand, using the rules. We could see that within two moves the fleets would be engaged. 

And so they were, by move three, with the British first to open fire. GFA's alternate squadron moving sequence and the simple yet I believe plausible firing system meant no time wasted on complex calculations - essential if this action was to be completed by late afternoon as it needed to be for GFA to work at the large fleet action we need. 


The rectangular arc of fire from each ship on which GFA insists works well to allocate targets along the line. The Spanish of course replied, immediately inflicting some damage on the head of the British line, HMS Spencer.


And then the French squadron moved, also firing on the British. As Saumarez I was already somewhat concerned. 


But if you have a plan and you cannot easily alter it, there is little point in worrying about it, especially in a sailing ship whose speed and direction cannot be moved with any drastic immediacy, so now I executed the turn to starboard with my flagship, HMS Caesar, and HMS Superb (left in the picture below). Sensible collision rules prevented the French and Spanish colliding, but it was becoming evident that a single line was the inevitable consequence of the Spanish admiral's decision not to turn to starboard himself early on, as this view from the head of the Franco-Spanish line taking fire in move four illustrates.


My own ships were now able to cut across his stern, not as impressively as I had hoped but allowing at least some concentration on his rearmost French vessel. HMS Spencer was hit again in return, this was not going entirely to plan, but at least those heavy Spanish 1st Rates were gradually disappearing out of the action. 


By move six I was eventually able to achieve the rake that I'd been hoping for throughout the action, although a poor die roll savagely reduced its effect. Nevertheless it was delightful that it had been possible by tacking round to place myself where I wanted, as rays of sunlight caught the afternoon action.


By this time both Admirals were beginning to think that the risks of continuing were too high, and I had drawn off HMS Spencer, but my flag-captain on HMS Caesar had other ideas, and continued to pummel the next Spanish 74 in line, 


This ship, I believe it was the Argonauta, having already taken hits from other British ships, was now reduced to hull zero, requiring a test, which she spectacularly failed, foundering as a result, although my flagship had also been seriously damaged and was, we decided, listing as a result.


The Franco-Spaniards considered themselves fortunate to have lost only one ship, and made off to the other side of the bay, whilst the British, having sent one ship home already with serious damage, with another ship equally badly damaged, and now out of position well to the West of their foe, also considered it wise to break off the engagement. It had lasted about an hour and a half in game time, and took us around five relatively leisurely hours to complete in real time. 


We judged the rule test to be a complete success in every respect. We had been worried about the command rules, but the combination of insisting vessels be in command to commence firing and that any vessels out of command had to make reasonable endeavours to place themselves back in command allayed our fears on that score - not that anyone was out of command during our action anyway. The firing ranges relative to speed seemed quite right to us, sailing was neither too demanding, nor unrealistic, nor too easy, whilst record-keeping was straightforward and useful. I even tried to repair one of my ships - without success, I may add, but that rule too worked well. 

This has been a quest well worth undertaking - fun along the way, but also some frustration, and it is great to have achieved the goal. Many thanks to James for acting as my opponent in the action - and for the pictures. Now for some serious Napoleonic naval wargaming: I am confident enough to schedule another attempt at Glorious 1st June, or whatever large Napoleonic naval battle my ANF colleagues want to suggest