Of course, one does not ever feel that way about a wargame! It was, however, somewhat like that for our Anglo player in our second version of Vimeiro. It was Julian this time, who took up Mark’s dice rolling skills from version 1!
We once again based the game on Chris Leach’s scenario in the Fields of Glory booklet, this time following it in its entirety, since we were using our adaptation of the Shako rules, Shako-ANF.

For this version Mark took Solignac and Brenier (Montmorand) on the French right, while I was in overall command as Junot with direct control of the French left.
Photo 1: A poorly composed photo showing an overview of the battlefield, looking from the west, British at left, French at right. Vimeiro is in the left foreground.

The opening move showed that this was not going to be a simple re-fight of the historical action since the British advanced with right and centre!
Photo 2: At the western end of the battlefield, Thomières and Charlot, supported by St Clair’s grenadiers, advance towards the British on the ridge before Vimeiro, only to find their opponents (Anstruther and Fane) advancing towards them!
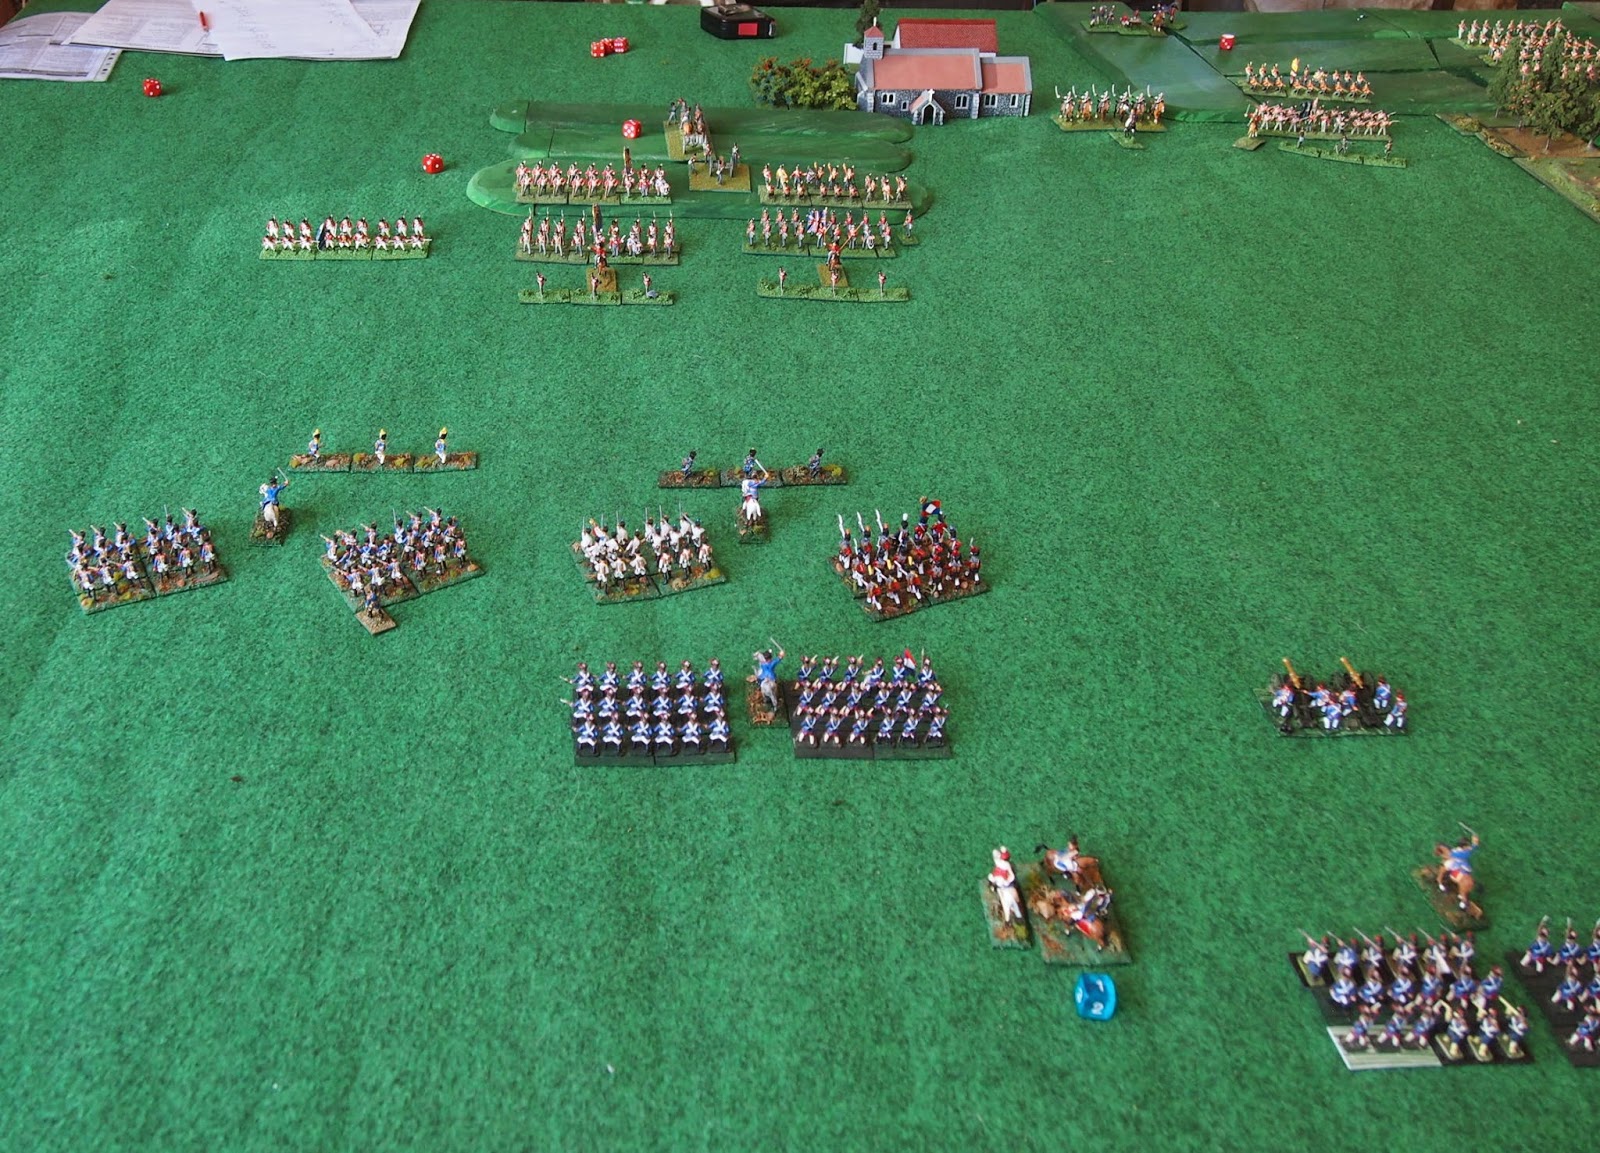
Photo 3: In the British centre, Acland too joined the advance, making for the gap between the two halves of the French army.

Photo 4: Overview of the battlefield at the end of the first turn.

Photo 5–6: By the end of turn 2 the advancing brigades of each army were within striking distance of one another.


Photos 7–9: Mêlées along the line; a win to each side.


Photos 10–12: Meanwhile, in the centre and eastern flank, Acland’s brigade continued it’s drive for the French centre, while the newly arrived Brenier joined Solignac in advancing towards the British left.


Photos 13–15: Three views of the field at the end of turn three.


Photos 16–18: Brenier sent his dragoons against Ferguson’s 36th line. The British failed to form square, but managed to drive the French horsemen back with a desperate volley.


Photo 19: In the centre, Solignac’s lead units moved to intercept Nightingale’s and Bowe’s brigades that were moving to support Acland’s drive towards the French centre.

Photos 20–21: Decisive action from the western end. Wellesley sent Taylor’s light dragoons in a charge against Kellermann’s grenadiers. The latter formed square, easily driving off the British horsemen.


Photos 22–23: More decisive action in the west. A combined attack by units of Charlot’s, Thomières and St Clair’s brigades succeeded against Anstruther’s and Fane’s men, leaving Charlot’s 3/32e and 3/82e ligne poised to fall on the flank of the British line.


Photos 24–25: Meanwhile, the French advance continued in the centre and east. In the latter zone, Ferguson’s lone brigade had received welcome support in the form of Catlin Craufurd’s brigade.


Photos 26–28: Back in the west, the 3/32e and 3/82e ligne went for the kill, supported by Thomières 4th Swiss^. Anstruther’s and Fane’s brigades were near spent forces.
(^Yes, we know that only a few hundred Swiss were present, but chose to represent one of Thomières’ units as such for added colour!)


Photos 27: Solignac’s lead units delivered volleys at Bowes’ men, causing few casualties.

Photos 28–29: The 3/32e broke the 97th foot and with it Anstruther’s brigade, but the 1/50th (represented by a yellow-faced unit) proved a tougher nut to crack for the Swiss.


Photos 30–32: Kellermann’s grenadiers moved to meet Acland’s advance.


Photo 33: Overview photos of the eastern end of the battlefield and…

Photo 34: …from the west.

Photos 35–36: Decisive action in the centre with Solignac’s 3/12e and 3/15e légère going into action against Bowe’s 1/6th and 1/32nd, the former repulsing the French light infantrymen, while the latter were broken.


Photos 37–38 Brenier’s infantry entered the ‘cauldron’ of fire from Ferguson’s and Crauford’s line, coming off very much the worst.


Photos 39–41: Decision in the west: Fane’s brigade broken, Acland’s attack blunted and Vimeiro taken.


Photo 42: From the west; not looking good for the British.

Photo 43: At last success for the British as Brenier’s brigade broke.

Photo 44–45: Anglophile joy was to be short-lived as Solignac’s men broke Bowe’s brigade, completing a clear victory for them and their countrymen.


Like all bold plans, Julian’s looked rash in defeat, but would have been inspired had it come off. Perhaps a plan that relies on good luck is a ‘bridge too far’? Perhaps he might have been more successful had he held with his left while using his centre to attempt to outflank the French attackers—who knows? Certainly it can be difficult to overcome a seemingly continual imbalance in the “imponderable”.
Amazingly, we have played two versions of this battle and changed history on both occasions—a rare thing in wargaming, methinks. This experience highlights two things:
i) don’t change Wellesley’s winning formula, and
ii) it doesn’t pay to have a sustained run of net bad luck!
Next time
Our games of the 1815 Bicentennial have commenced so I’ll report on Quatre Bras 200 pt 1.
Looks great! We payed the exact same scenario and loved it too.
ReplyDeleteGlad to see this book being used, its a cracker.
Best wishes, Jeremy
Thanks so much for your encouraging (and quick!) comment Jeremy.
DeleteHe did a great job with those scenarios didn't he? They capture the main aspects of the historical battle, but have been 'tweaked', in really sensible ways, to make for an even, challenging and enjoyable game.
Nice looking game James, beautiful lines of battle!
ReplyDeleteThanks Phil!
DeleteAs good as the British troops were, without Wellesley directing them, their battlefield record during the Napoleonic wars wasn't really all that impressive. Ergo, tampering with his battle plans may not be too wise! :-)
ReplyDeleteOh, and I fully agree with including a Swiss unit for color - and potential freind vs foe confusion!
ReplyDeleteRule of wargaming no. 11: Whenever possible field 'special' units with differently coloured uniforms! :)
DeleteAnother entertaining ARR. Those 1/72s rule!
ReplyDeleteThanks David.
DeleteGreat to hear from you. Any chance that you could join us for our Waterloo game, commencing on 27th June?
Reply here or send me an email. Thanks.
Good to see the Napoleonics taking the field.
ReplyDeleteI plan to do Quatre Bras next Wednesday.
Yeah, we are back to our Napoleonics in a big way!
Delete(Looking forward to the game on Wednesday too)
Great BatRep!
ReplyDeleteYou know, I have played (and replayed) Vimeiro more than any other battle and I have yet to see the French win one.
I agree with the choice to field a Swiss regiment. I would have done the same!
Thanks Jonathan.
DeleteI recall that you made that observation in response to our first version of the game. We must be the exception that proves the general rule, hey?!! :)
Great looking set up and figures, James!
ReplyDelete