Wednesday, 15 May 2013

Catching Up On Past Games (1): Battle of Saalfeld, 10th October 1806

History Repeats, Again and Again


Introduction
The Battle of Saalfeld was the first battle of the 1806 Prussian Campaign. Prince Louis Ferdinand, commanding the advance guard of the Prusso-Saxon army (8 300 men), opposed the approach of Marshal Lannes’ superior force of French troops (12 800), a task made doubly difficult due to his having distributed his force along the line Pößneck-Saalfeld-Blankenberg; a front of some 70 km. Prince Louis’ centre was positioned in an arc from Wöhlsdorf to Cröesten and Saalfeld, the terrain bisected by woods and hills with the Saale River to the east and at its back.
A little before 10 am Lannes’, seeing his opportunity to attack and destroy a weaker force, sent the lead elements of his V Corps (Claparede’s brigade and Trelliard’s cavalry) against the Prusso-Saxon left  (Rabenau’s advance guard) near Garnsdorf, ordering the remainder of Suchet’s division (Reille’s and Vedel’s brigades) to march to the north-west so as to work around the Prusso-Saxon right. Despite facing superior numbers, Prince Louis decided to fight, sending the bulk of his army, von Bevilaqua’s Saxons, to attack through Beulwitz, around what he believed to be the left flank of the French.
Expecting Beulwitz to be unoccupied by enemy troops, the Saxons were initially surprised and harassed by skirmishers from the 17th légère (Claparede’s brigade), which Lannes had ordered to advance through the woods, and Trelliard’s horse artillery guns. They were then driven back beyond Cröesten in disorder when attacked in force by the first two battalions of the 34th ligne (Reille’s brigade) as they emerged from the woods to the west of Beulwitz.
Prince Louis rallied the Saxons to counter-attack and re-take Cröesten. He then attempted to form a line pivoted around that town with his left on the Saale and right at Aue an berg. Lannes meanwhile was gathering his troops for what he hoped would be the final, decisive attack.
At 1 pm Lannes launched his attack. The combination of the 64th ligne (Vedel’s brigade) and 17th légère drove the Saxon’s from Cröesten. These then combined with the 88th ligne to drive on Wöhlsdorf. Faced with impending doom, Prince Louis lead a final, desperate charge of the Saxon hussars to cover the retreat of his infantry. The Saxon troopers were in turn counter-charged and routed by the 9th & 10th hussars. In the midst of the mêlée, Prince Louis was wounded many times and refused to surrender, eventually falling to a sabre thrust from Sergeant Guindey of the 10th hussars.
Heroic death of Prince Louis Ferdinand in Saalfeld by Richard Knötel (Wikimedia Commons).

The Game
We based our game on Jim Hargrave’s scenario from Miniature Wargames no. 314 (June 2009). We ended up playing it twice, over successive weekends, the first time using a new set of rules, General de Division (GdD), and the second time using Shako II (our first use of this second edition of those rules).

Map of battle from Miniature Wargames 314 (the map is highly stylised and the north pointer should be as indicated by the red arrow).


Our representation of the above map, looking roughly north (corrected) with Rabenau’s brigade in the foreground, SW of Saalfeld, and von Bevilaqua’s Saxons in white beyond the town supported by Muffling’s brigade.

The southern end of the table. Rabenau’s cavalry (6th Schimmelpfennig Hussars—figures Hat early Prussian hussars painted as 8th von Blücher) east of Garnsdorf, Claparede’s 17th légère coming through the gap in the wood to the WSW.

Version One (11th ANF game, played 9th July 2011)
For our first version of the game Mark took the French and I had the Prusso-Saxons. The deployment was as shown on the map with Claparede and Trelliard's brigades arriving down the road to Garnsdorf on turn 1 and 2 respectively, Vedel's brigade on the road to Beulwitz on turn 3 and Reille's brigade on the road to Aue an berg on turn 7.


Saxon horse artillery stationed outside Saalfeld.


Looking towards Saalfeld with the Saxons deployed in front of the town. Cröesten is in the foreground.
Arriving on turn 2, Trelliard’s cavalry advance rapidly to engage Rabenau’s Prussian advance guard around Garnsdorf.


Saxon hussars deployed in front of Saalfeld. They are in late period uniform (when allied to the French)—figures Strelets French hussars.


The 21st chasseurs à cheval lead the attack on Rabenau's advance guard...


and easily disperse the jägers.


The Prussian line infantry prove a more difficult nut to crack,


sending the chasseurs on their way, pursued by the Saxon hussars.


The 9th Hussars intervene, coming to grips with the Saxons.

Meanwhile, on the southern table edge, the French 10th Hussars (heavily disguised as the 3rd here) come to grips wth Rabenau's hussars.


In the centre the French are beginning to arrive in force with Vedel's brigade advancing on the Saxon line behind Cröesten.


Overview of the table, at this stage (about turn 5), looking roughly north-west.


At the same stage looking south-west (Saalfeld left of photo).


The French 10th hussars have overcome the Prussian 6th.


But the 9th are having a protracted mêlée with the Saxon hussars.


The centre of the table, Saalfeld at top of photo, showing the cavalry mêlée in the foreground and Vedel's advance on the Saxon position at the top-left of the picture.


Closer look at Vedel's advance, from the Prusso-Saxon side. Note advanced elements of Reille's brigade in the top of the photo.


The same thing, this time looking south-west.


Things are not looking good on the Prusso-Saxon left. After initially holding well, the pressure has told on Rabenau's advance guard who are 'spent' (roll 2).


Meanwhile, Vedel's hammer is about to fall on the Saxon's.


Trutschler sends his second unit of Saxon hussars (heavily disguised as late war Prussian hussars) to delay Reille's advance.


The Saxon light infantry have been easily dispersed by Vedel's first attack.


and soon the French are in mêlée with von Bevilaqua's Saxons all along the line.


Unfortunately the Saxons melted away without putting up much resistance; 'spent' (roll 3)


The same sorry picture for the Prusso-Saxons, seen from the east.


Overview of the battle at game's end. Saxon infantry going the 'wrong' way, Saalfeld at bottom of photo.


The Saxons can't wait to get on the Napoleonic 'bandwagon'!


As with his historical counterpart, Prince Louis is threatened by the 10th (3rd) hussars


The Saxon horse artillery leave the field in good order.


Meanwhile, the lead unit of Saxon hussars, having dispersed the 9th hussars, have their sights on the horse artillery; only to be foiled by the game's end!


Result: Smashing French Victory

Version Two (12th ANF game, played 23rd July 2011)
For our second version of the battle Mark took the Prusso-Saxons and I had the French.
Like their historical counterparts, von Bevilaqua’s Saxon brigade attacked towards Cröesten!
At the same time Claparede’s infantry attacked the Prussian advance guard around Garnsdorf, supported by Trelliard’s hussars.
The 17th légère (Claparede) come to grips with Rabenau’s advance guard around Garnsdorf. 

Vedel's lead battalion (light infantry uniform, centre of photo) advance to hold off the Saxon's who have advanced beyond Cröesten to give the remainder of his brigade time to deploy (in foreground).

The 17th légère come off the worse in their firefight with the Rabenau's Prussian infantry.

Vedel's men advance to meet von Bevilaqua's Saxons...

just in time as his lead battalion breaks.

Close up of the battle around Cröesten.

Trelliard's hussars and the second battalion of the 17th légère have worked their way around the south of Garnsdorf, so Louis sends the Saxon hussars (in distance) to meet the threat.

 They crash into the 17th légère, catching them in line.

Prince Louis observes proceedings from his command post at Saalfeld.

View of the Saxon cavalry advancing towards Garnsdorf as seen through a window of one of the residences in Saalfeld 
Saxon horse artillery deployed outside Saalfeld.


In the centre, Muffling's Prussians in reserve observe the combat around Cröesten.


Back on the southern flank, the Saxon hussars have made short work of the 17th légère, but the French hussars are there to assist.


In the centre, Vedel's attack is meeting with stiffer resistance from the Saxons (than in version one!).


Trelliard's hussars have successfully beaten off Rabenau's 6th Schimmelpfennig Hussars (8th) and the Saxons; but the latter have rallied (top-centre of picture).


In the centre of the battlefield the combat is getting more intense...

Redel's infantry that were initially forced back have rallied and combined with skirmishers to attack the left of the Saxon line.

Muffling's Prussians respond to the advance of Reille's brigade (right of photo).

It is all over, French numbers being telling in the end. Vedel’s brigade broke von Bevilaqua's Saxon infantry (missing from around Cröesten in this photo) and Reille's brigade is about to attack Muffling's men.

Rabenau's brigade has held it's position at Garnsdorf.

Lannes sends an aide to the Emperor with news of his victory.

Prussian infantry in retreat.

While French line infantry...

and light infantry advance,...

as do the hussars.


Prince Louis quits the field, avoiding the fatal heroics of his historical counterpart!
Result: Clear French victory

Our impressions

I was surprised how enjoyable such a one-sided battle was as a game. It was a challenge as the Prusso-Saxon player to see how long you could hold off the inevitable. The pressure was on the French player to achieve a devastating victory. A scenario that was well worth playing and a fairly straight-forward game to use for the first outing of a set of rules (click to see our review of GdD).

Sources
Hargrave J (2009) The Action at Saalfeld. Miniature Wargames No. 314 June 2009.
Hourtoulle F-G and Jouineau A (2005) Jena Auerstaedt: The triumph of the Eagle. Translated by A McKay. Histoire & Collections, Paris, France. pp. 28–33.



Tuesday, 7 May 2013

An account like no other in English


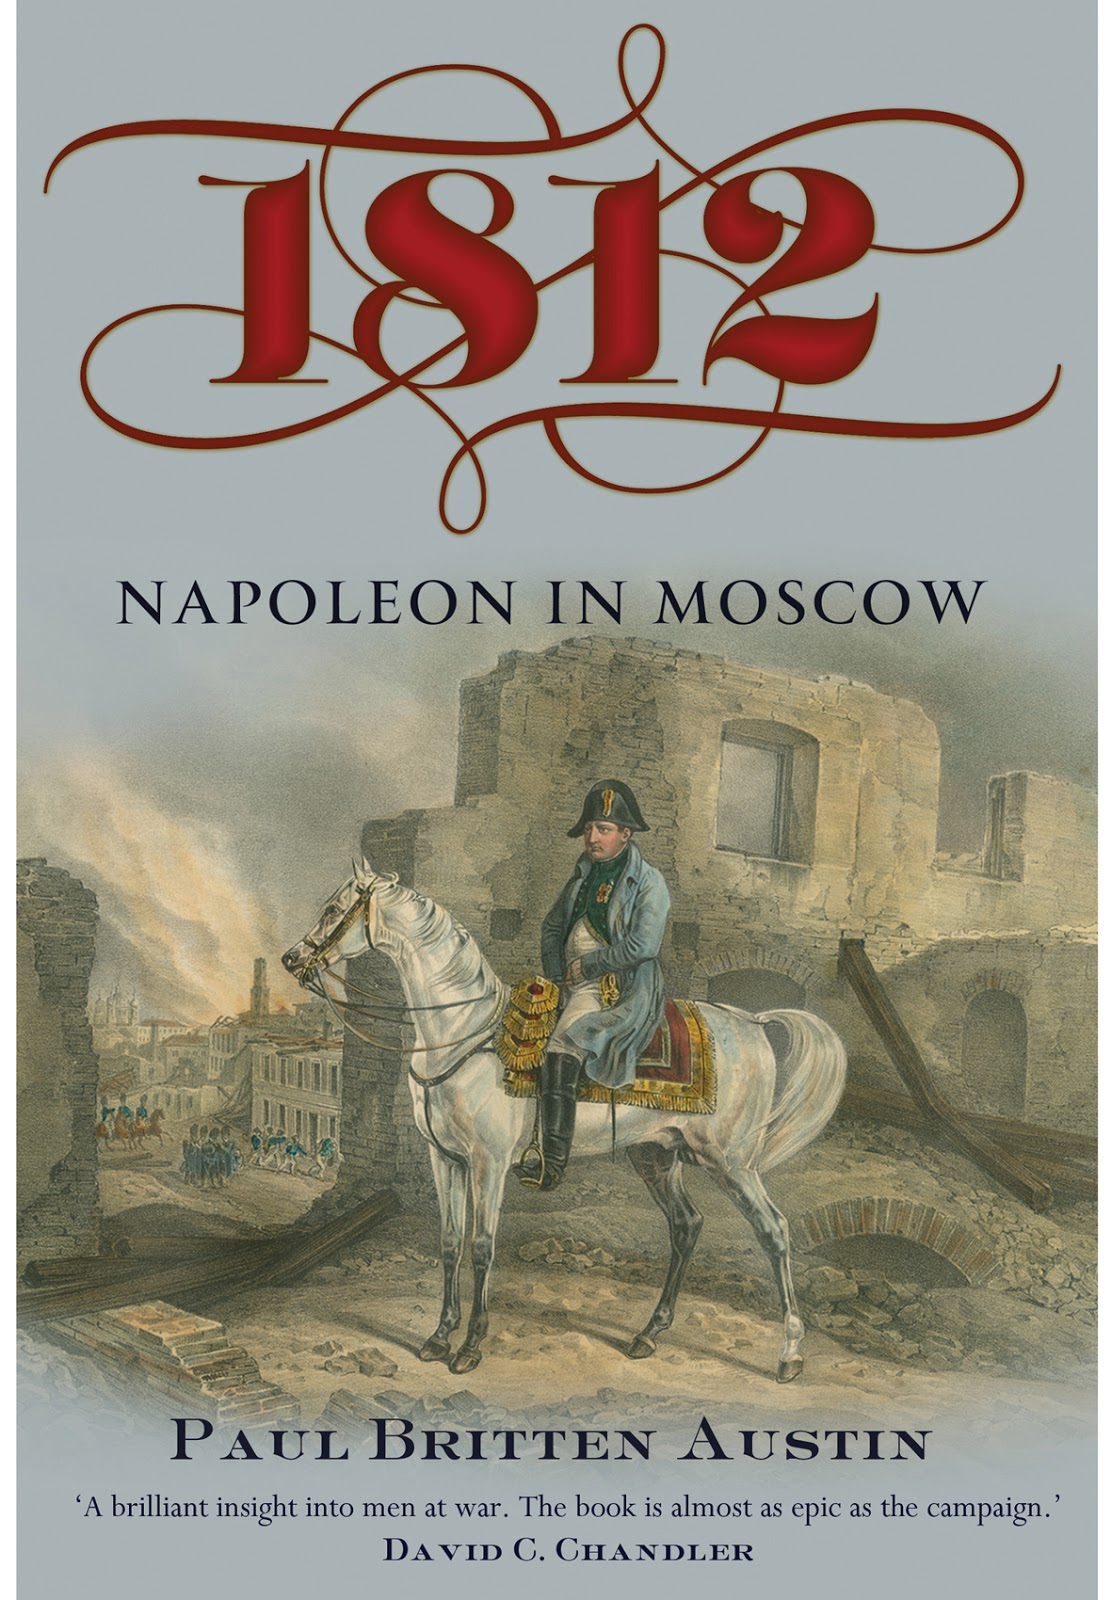
Book Review: 1812 Napoleon's Invasion of Russia (The March on Moscow, Napoleon in Moscow, The Great Retreat), by Paul Britten Austin
(Book cover art kindly provided by the publishers. Please do not reproduce without obtaining permission)
This account of the 1812 campaign is like no other in the English language. Austin has combined descriptive prose with quotes from primary sources to produce a readable account. It is similar to the approach that was used by French historians such as Lachouque, Hourtoulle and Houssaye.


By using present tense he brilliantly combines his own prose with extracts from memoirs and letters into a story-like telling of the history that transports the reader back two hundred years. We are there observing Napoleon throughout the campaign; we see what those around him and elsewhere in the Grande Armée saw and we ‘experience’ what they experienced.

I have the single-volume, paperback edition of this fabulous trilogy of the 1812 campaign—the three-in-one, budget version. It has since been re-released as the original three volumes. These latter are better reproductions of the work, particularly the plates and maps. Naturally the content is the same, but, in hindsight, I would have preferred to have spent more on the better quality, three-volume version.

Book One, The March On Moscow begins with the an introductory chapter explaining the build-up to the campaign and how we have arrived here, in Poland in June 1812. We are then transported to the ‘present’ and we experience the falling discipline as the army moves from fertile quarters in the western German states to the relative harshness and shortages of food and forage in East Prussia and Poland. Despite this, on the banks of the Nieman there is a sense of inevitable victory. An incident where the Emperor falls from his horse, re-mounting unhurt, has the superstitious among us worried, but who could resist a force of 350 000 combatants and 984 guns, their bright uniforms, silver and gold glistening in the midsummer’s sun?


This magnificent pen picture continues as we march deeper and deeper into Russia across the dry emptiness of Lithuania, which turns to mud with sudden summer storms. “Even the men who’ve served in Spain—and there are many—soon begin to feel depressed by its sombre aspect” (p. 59). Stragglers increase, men fall and some even commit suicide. “Most of Napoleon’s campaigns had started in similar fashion” (p. 62), but this is Russia 1812 and everything is magnified doubly.
We experience Bagration alluding the first envelopment, the bloody Battle of Ostrowno, the near perfect manoeuvre of the first battle of Krasnoe which, having missed, lead to the bloody assault on Smolensk, the Battle of Valutino (Lubino)—another missed opportunity—and the march through heat and dust to bloody Borodino.
Thanks to Austin’s use of eyewitness accounts, we are taken, as if by helicopter or as a “fly on the wall” to each point of the action. We are there when the guns open up, slowly at first and then “like an earthquake” we join Delzons’ men as they drive the Russian Guard jägers from Borodino and across the Kolocha, only to be driven back by a Russian counter-attack. We join Compans’ men in their first successful attack on the flêches, but they too are forced back by a Russian counter-attack. We ‘experience’ each stage of the terrible battle, as seen through the eyes of those yet to be committed to the struggle. We see the troops resplendent in their full dress—none look finer than the veterans of the Imperial Guard. We are also there to observe Napoleon, static and almost aloof, laid low by illness. Finally we experience first-hand the capture of the Grand Redoubt in the last, desperate action of the day. At the conclusion of the battle we are taken across the battlefield to witness the “butcher’s bill”...
The first book of this trilogy ends with the entry into Moscow, “Eighty-two days have passed since the Grand Army crossed the Niemen.. it has marched 825 miles, fought two major battles... Only two-thirds of its effectives are still with it eagles... Yet Napoleon isn’t an inch nearer to his objective—to force Russia back into the Continental System... And tomorrow he’ll get the shock of his life—as Moscow, as if by spontaneous combustion, bursts into flame” (p. 356).
The second book, Napoleon in Moscow takes up the story. with entry of the French-allied army into the city, “Europe’s second largest and far and away most exotic capital...” (p. 18). But it is not the grand entry into a capital of previous campaigns. Through the eyewitnesses we experience the strange anti-climax of entering an empty town, wondering if it is a trap. Some incendiaries, dressed as policemen, are brought before Napoleon, Apparently they are acting on the orders of Governor Rostopchin. There is “...a violent detonation on the side of the Kaluga Gate. [...] It seems to have been an agreed signal” (p. 26). Then the city is set afire.

Following the great fire we enter a phase when Moscow is turned into a large bazaar as soldiers sell the loot that they have accumulated and, with winter approaching “whilst only few of us thought of providing ourselves with warm clothes and furs against the coming winter, many ladened themselves down with a mass of useless things” (p. 63). Napoleon is awakened from his delusional ‘slumber’ by the Russian ‘surprise’ attack on Murat’s dispersed troops at Vinkovo (Tarutino). Belatedly he makes the decision to quit the capital and march south towards Kaluga.
The Russian army—more particularly Dokhturov—moves quickly to cut us off. Prince Eugène’s French, Italian and Spanish troops lead the attack in this bitter encounter battle and struggle for a key strategic point. Increasing numbers are committed by both sides. It is particularly intense and hard-fought, even in a campaign that has been marked by such fights. The months of campaigning without a clear result and the high stakes ensure that, as Wilson put it, “the enemy was infuriated by despair, the Russians by ‘the Moscow cry of vengeance’” (p. 206).
Parried at Maloyaroslavets the fatal decision is made, perhaps the only one possible under the circumstances, to retreat via the route of the original invasion...
Thus the final book, The Great Retreat begins with ‘a word unknown in the French army’...
We are soon introduced to some ‘new’ troops, les hourrassiers, the nickname scornfully given to the Cossacks whose cries of ‘hurrah’ translate into death for the invaders (p. 24). In another terrible tit for tat in this brutal campaign we reciprocate the Russian scorched-earth tactic, following an order that “every village, every house, every cottage, every barn along the route to be fired” (p. 31).
The weather is cold and often wet. Lack of food soon tells and we then re-cross the terrible battlefield of Borodino. “The famous battlefield is exactly the same state as we’d left it in on 8 or 9 September. More than 20 000 corpses of men and horses in a more or less advanced state of decomposition were lying where they’d fallen” (p. 45).
We have our first significant combat with the pursuing Russians at the second battle of Viasma. It begins with an all-too-common occurrence, “Cossacks yelling frighteningly, came out and fell on this unfortunate mass [artillery, carriages and vivandière’s carts]. At this sight, each man, driven by fear, acts on impulse” (p. 66). It is not too long though and “some roundshot whistled past our ears. After a few moments an extremely lively fire of guns and musketry started up on our left” (p. 67). Eugène and Poniatowski send their troops to assist Davout’s rearguard and a bitter struggle ensues. Finally it is “...Ney who, by coming back to the other corps’ assistance, has stabilised the situation” (p. 70). “...The Russians were put to flight, yet without being able to take any of their cannon” (p. 71).. The stragglers though are becoming a bigger and bigger mass “recognising neither chiefs nor discipline and only heeding its thirst for pillage...” (p. 69) and are impeding the rapidly diminishing army.
It begins to snow. “The Russian winter... blasts the army with its icy breath. [...] this suffering of a kind we’d so far not experienced” (p. 87). Vitebsk is lost so we continue on to Smolensk, but “where are all the ‘immense supplies’ that should be here at Smolensk?” (p. 124). “Men flung themselves on the food stores. These were smashed in, looted. There were men killing each other, suffocating each other” (p. 138).
We are with the Guard when it turns at Krasnoe to fight off the Russian army and allow the remnants of IV Corps and I Corps to escape but Ney and the rearguard are cut off. The army marches on towards the Berezina but “as for what is happening to Ney, that’s anyone’s guess” (p. 191).
So begins the epic night march of Ney and his rearguard to the north of the Russian army to cross the Dnieper. Harassed by Cossacks and surrounded by 100 000 men they are driven on, largely by the force of will of the Marshal, and reach Orsha where Eugène “...has been told to wait until midnight for Ney until midnight” (p. 202). "After the ‘Qui vive?’, to which the answer was ‘France’, he and the Marshal embraced. Immediately there was a joy hard to describe, which somewhat revived our flagging morale” (p. 203).
We move then to the penultimate action of this most disastrous campaign for the French-Allied army and all those in it; the crossing and Battle of the Berezina followed by the slaughter and capture of the remaining stragglers after the bridges are destroyed. “The most afflicting spectacle anyone could see. The Cossacks flung themselves on these people who’d been left behind. They pillaged everything on the opposite bank, where there was a huge quantity of vehicles laden with immense riches. Those who weren’t massacred in this first charge were taken prisoner and whatever they possessed was falling to the Cossacks” (p. 312).
Yet those who escape the Berezina are still not yet out of danger. The Emperor makes the decision to quit the army and return to Paris. “This news destroyed what was left of the army’s courage. The men were sombre, and lost all hope of ever seeing their own country again” (p. 351). Indeed many would not. Vilna is not the haven hoped for bringing only confusion, illness, a fight for survival and then the Cossacks arrive. “On all sides one heard shouts, oaths, whiplashes being applied, and groans in I don’t know how many languages” (p. 390).
Finally, amazingly, some do leave Russia. Count Dumas rejoiced at leaving “that cursed country” and he and some friends were drinking “some excellent coffee when a man in a brown greatcoat entered. He had a long beard. His face was blackened. And he looked as if he’d been burnt. His eyes were red and gleaming. ‘At last I am here,’ he said. ‘Why, General Dumas! Don’t you know me?’ ‘Why no. Who are you?’ ‘I am the rearguard of the Grand Army. I’m Marshal Ney.’”
So this remarkable story ends with the coalition forces buoyed by disaster that has befallen Napoleon’s army and him gathering fresh armies to “...defend his crumbling empire” (p. 423).
Austin’s account is purely through French-allied eyes and focusses principally on the mistakes, overestimations, poor coordination and examples of Napoleon’s ‘hubris’. The problems and sufferings of the Russians are only covered in-so-much as they are brought about by an invading army. This in no-way detracts from the value of this magnificent book, but merely puts it in context.
This study is a must. Whether the single-volume version or the more desirable three separate books, these are ‘keepers’ that belong in the personal library of any Napoleonic enthusiast.

Monday, 6 May 2013

ANF Figure Review (2)— Strelets Set 019 Russian Hussars

Perhaps nothing splits the devotees of 1/72nd plastics like Strelets figures. It seems that people either hate 'em or love 'em. I am firmly in the latter camp.

This set of Russian hussars is a fine example of what I like about the offerings from this manufacturer. The variety of interesting and animated poses, the chunky, rough style that can look pretty poor in the raw plastic, but paints up beautifully—as these examples from Mark show. The addition of the lances for the front rank of figures adds greatly to the visual effect—and their performance on the tabletop in games from 1812 on!

Our friends at the Plastic Soldier Review, who are usually luke-warm at best about the offerings from this manufacturer, give this set mainly 8s and 9s out of 10 for their five ratings (although only a 7 for sculpting).


ANF rating: 9 Napoleons
Photo gallery


Alexandria & Belarus hussars
Alexandria hussars
Belarus hussars
... and another view—lance in the front rank
Suom hussars 
...from the other side
They put those 'pointed sticks' to good use, seeing off a 'blown' unit of cuirassiers
This was repeated by the Alexandria hussars, thanks to a timely '6' against  a  '2' (broken cuirassiers in the distance, heading off-table!)
...but those Belarus boys were less successful!


Thursday, 18 April 2013

Lützen: first game for the 1813 bicentennial

Our first game in this bicentennial of the 1813 Campaign will be a re-fight of the Battle of Lützen (2nd May 1813), which we hope to set up next month to commence in June.

It's a gentle lead-in to Leipzig with a mere 110 000–120 000 French-Allied troops and around 80 000 Russo-Prussians. I have just completed the army lists (editing those for Leipzig) and scenario document. The numbers that we will use are:

Army
Troop type
Approx. numbers
No. of figs or guns**
French-Allied Army
Total
118500


Infantry
106900
2178

Cavalry
9600
192

Artillery
352
22
Allied Army
Total
80400


Infantry
54000
1080

Cavalry
26400
528

Artillery
380
21
GRAND TOTAL
198900
4236


It should be an intriguing and challenging game for both sides.


Lützen was an encounter battle with Ney's advanced elements (Souham and Girard) initially surprised. Reinforcements steadily came in on both sides so that the villages in the 'quadrilateral' changed hands several times. In the end French-Allied superior command and weight of numbers produced a minor victory that could not be exploited for the lack of cavalry.

The wargame is likely to be a close-fought thing too (hopefully) with the initial Allied attack, French-Allied reinforcements counter-attacking to stabilise the situation, then the bulk of the Allied army countering the counter-attack and finally the advance of the guard and Napoleon's attempted double-envelopment with Bertrand and MacDonald. Will the smaller Allied army, much of it top quality, change history or will the French-Allies be able to do better than their historical counter-parts?


Quite a number of other wargamers and groups have done scenarios of Lützen and they have produced some interesting counter-factual results. There are links to reports of these games on the Wargaming Waterloo 2015 blog. We'll see out how we get on in a couple of months.

An aspect that I found particularly intriguing while designing the scenario was that of the Flossgraben.

Many scenarios of Lützen feature a river flowing from the north, to the east of Lützen, towards Kaja, bending near that town, flowing around Klein Görschen and then south off the board. I wondered for some time what it was as it features on some maps but not others. I finally found a map that had it named and realised that it is the Elsterfloßgraben (Elster float canal). The Flossgraben is “a canal in Saxony and Saxony-Anhalt, built in the 16th century for the transport of wood, branching off from the Weisse Elster River” (Wikimedia Commons, http://commons.wikimedia.org/wiki/Category:Elsterfloßgraben). The photos in Plate 1 and 2 indicate that it is not a serious water obstacle and, if it is to be on the battlefield at all, should be represented merely by a line of trees and bushes (as mentioned in Hofschröer and Hook 2001).


Plate 1: Flossgraben (float canal) shown at left between Kaja and Lützen (district of BurgenlandkreisSaxony-Anhalt)
Plate 2: Flossgraben between Kleingörschen and Kaja (Lützen, district of Burgenlandkreis, Saxony-Anhalt) 
I concluded that we'd depict the Flossgraben as a double-line of trees. It will be passable to all arms at 1/4 of normal movement rate. Units will be disordered (‘staggered’ in Shako terms) whilst crossing (unless via a bridge). As with woods, the Flossgraben blocks line of sight on the same contour.

I'd be interested in any comments or other points of view on this.


Cited and consulted for the scenario

Chandler, D (1966) Part Fifteen Twilight: The Struggle of Nations, Section 77 Lützen and Bautzen. The Campaigns of Napoleon. Weidenfeld & Nicolson, London. 1993 paperback edition. pp. 881–888.

Hofschröer, P and Hook, C (2001) Lützen & Bautzen 1813: The Turning Point. Campaign 87 (Ed. D Chandler). Osprey Publishing, Oxford, England. 1st edition. pp. 15–58.

Lawford, J (1977) Napoleon: The Last Campaigns 1813-15. Crown Publishers Inc., New York. pp. 30–39. 

Nafziger, G (n.d.) French Forces at Gross Gorschen or Lutzen, 2 May 1813. The Nafziger Collection of Orders of Battle, file name 813EAA.  http://usacac.army.mil/cac2/CGSC/CARL/nafziger/813EAA.pdf

Nafziger, G (n.d.) Russo-Prussian Order of Battle for Gross Gorschen or Lutzen, 2 May 1813. The Nafziger Collection of Orders of Battle, file name 813ECD. http://usacac.army.mil/cac2/CGSC/CARL/nafziger/813ECD.pdf

Pardo, R (2007) Scenario 32.1: The Battle of Lutzeniki 2nd of May 1813. http://www.rafaelpardoalmudi.com/scenarios/lutzen/Battle_of_Lutzen.pdf

Petre, FL (1974) The Battle of Lützen or Gross Görschen. Napoleon's Last Campaign in Germany, 1813. Chapter VI. First Published 1912. Arms and Armour Press, London, UK. pp. 66–90.

Monday, 15 April 2013

Half A Million At 1:50: Wargaming Leipzig 2013 (4)


I have completed our OBs for Leipzig. There are over 11 200 reasons** why it is gonna be a big challenge and a great sense of achievement when we finally make it happen.
Leipzig will make this one seem like a skirmish!

Army
Troop type
Approx. numbers
No. of figs or guns**
French-Allied Army
Total
179400


Infantry
144000
2880

Cavalry
35400
708

Artillery
848
53
Allied Army
Total
343200


Infantry
269400
5388

Cavalry
73800
1476

Artillery
1328
75
GRAND TOTAL
522600
11220

If you’d like to look over the army lists, they are on Google drive;
I created the lists using a figure scale of approximately 50:1. Units of infantry, cavalry and artillery were determined from available orders of battle (principally from Pigeard, Nafziger, with reference to Millar when necessary) based on a conversion of approximately 1 200 soldiers present for Austrian line infantry regiments and 800–900 soldiers present for all other Austrian infantry and those of the other nations. A conversion of approximately 600 troopers per cavalry unit was used. Artillery batteries were included at the rate of one battery for approximately 20 guns for the Russians and one battery for approximately 16 guns for all other nations. Wherever possible the wargaming units have been allocated names based on the units that were present. Combined/composite unit names have been used if the actual units were at low strength and 1st, 2nd, etc. battalions for larger units. 
I went through the list fairly carefully, but there may be typos or errors. I’d be happy to hear about any that you find so that I may correct them! 

Sources consulted
Millar, S (2004) Allied Order-of-Battle at Leipzig: 16-18 October 1813. The Napoleon Series. http://www.napoleon-series.org/military/battles/leipzig/c_leipzigoob.html
Nafziger, G (n.d.) French Order of Battle for Leipzig, 16-19 October 1813. The Nafziger Collection of Orders of Battle, file name 813JIA. http://usacac.army.mil/cac2/CGSC/CARL/nafziger/813JIA.pdf
Nafziger, G (n.d.) Allied Order of Battle for Leipzig, 16-19 October 1813. The Nafziger Collection of Orders of Battle, file name 813JIB. http://usacac.army.mil/cac2/CGSC/CARL/nafziger/813JIB.pdf
Pigeard, A (2009) Leipzig : La bataille des Nations (16-19 octobre 1813). Napoleon 1er Editions, St Cloud, France. 82 pp.

Sunday, 14 April 2013

ANF Figure Review (1)— Hat 8072 1805 Russian Infantry


This is the first in a new series of posts in which we want to present examples of painted figures from various 1/72nd scale sets. Whenever possible we will attempt to feature an assortment of uniforms and even painting styles from our combined collection. We’ll also put in a few comments about the figures. Hopefully this will be of interest to others and will, in a small way, compliment the great work of the team at Plastic Soldier Review.
During a recent game, a Fields of Glory scenario of the Attack of the Russian Guard, Mark and I discussed which figures to use to begin this series. Hat’s set number 8072, “1805 Russian Infantry” was an obvious choice, given the large number of Russian Guard/Grenadiers on the table.
The 1805 Russian Line Infantry set from prolific figure manufacturer Hat was amongst their earlier 1/72nd scale sets (the 72nd such set to be precise) and was released in 2003. The team at Plastic Soldier Review conclude their assessment of this set with, “This is a nice collection of figures, done in a slightly stocky style but looking good. The lack of animation is perhaps excusable since Napoleonic soldiers generally fought in large slow-moving formations. These should look impressive in the vast armies that Russia deployed against Napoleon, and are a welcome broadening of the range of Napoleonic figures on offer.”
They do indeed look impressive en-masse as the photos below attest!
Our thoughts
The set contains a good range of useable poses for wargaming (eight of them), although the march-attack figure would have been better with his musket and eyes raised a little. Mark, whose figures are presented here, prefers to have units with figures in the same pose so it was easy for him to do so using these figures, as you can see in the photos.
The figures as presented are specifically guard or grenadiers, but can easily be ‘converted’ to line infantry simply by removing the plume and doing a painting conversion.
Our one complaint, and a fairly significant one, is the lack of command figures. The set only contains an NCO holding a cane and halberd. This figure can be modified to become a standard bearer, but the lack of a drummer and officer, and also a standard bearer is a major omission.
Overall rating 7/10
Photo gallery
Photos 1–9: Massed grenadiers


Photo 10: Standing pose and NCO.
(Note officer is from HaT Set 8073 1805 Russian Light Infantry)

Photo 11: Marching pose and NCO.
(Note officer is from HaT Set 8073 1805 Russian Light Infantry)

Photo 12: Advancing pose and NCO.
(Note officer is from HaT Set 8073 1805 Russian Light Infantry)


Photo 13: Marching pose close-up.

Photo 14&15: Advancing pose close-up.


Photo 16: March-attack pose close-up.

Photo 17: Command stand. Only the NCO is from this set.
(Note officer is from HaT Set 8135 1806 Prussian Grenadiers,
standard bearer is from Italeri Set 6006 Russian Grenadiers
with a head-swap from this set)

Photo 18: An out-of-focus mistake, but I liked the way that it suggested the Russian grenadiers casting a shadow over the French infantry,
as they did in the game from which these photos were taken!