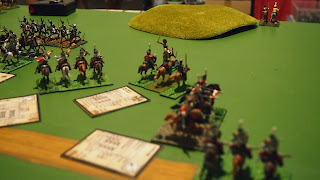
Initial set-up, the Russians, commander in the centre, indicated by card, with (~) a company of hussars on either side.
French commander on the hill with a (~) company of chasseurs on either side. They had more troops, but some were poorer quality.
In the Capitán rules1 each figure represents around three men and they are arranged in units of four to six (representing about a company or peloton). A unit is able to fight until it is reduced to two figures at which time it must pass a morale test to continue (and may be combined with another unit if it passes).
The ‘engine’ of the game is the unit data card (UDC). This contains all of the information about the unit: nation, unit, type, class, armament; initiative (I), morale (M), courage (C); movement rates; firing ranges for extreme, effective, short; command range and span (if a commander like this one); special qualities available and the cost in parentheses; no. of figures, no of units allowed, points cost.
We were each allocated 2 000 points from which to select our mix of command and line units plus any special qualities, with the limitation of only one command unit and one staff unit.
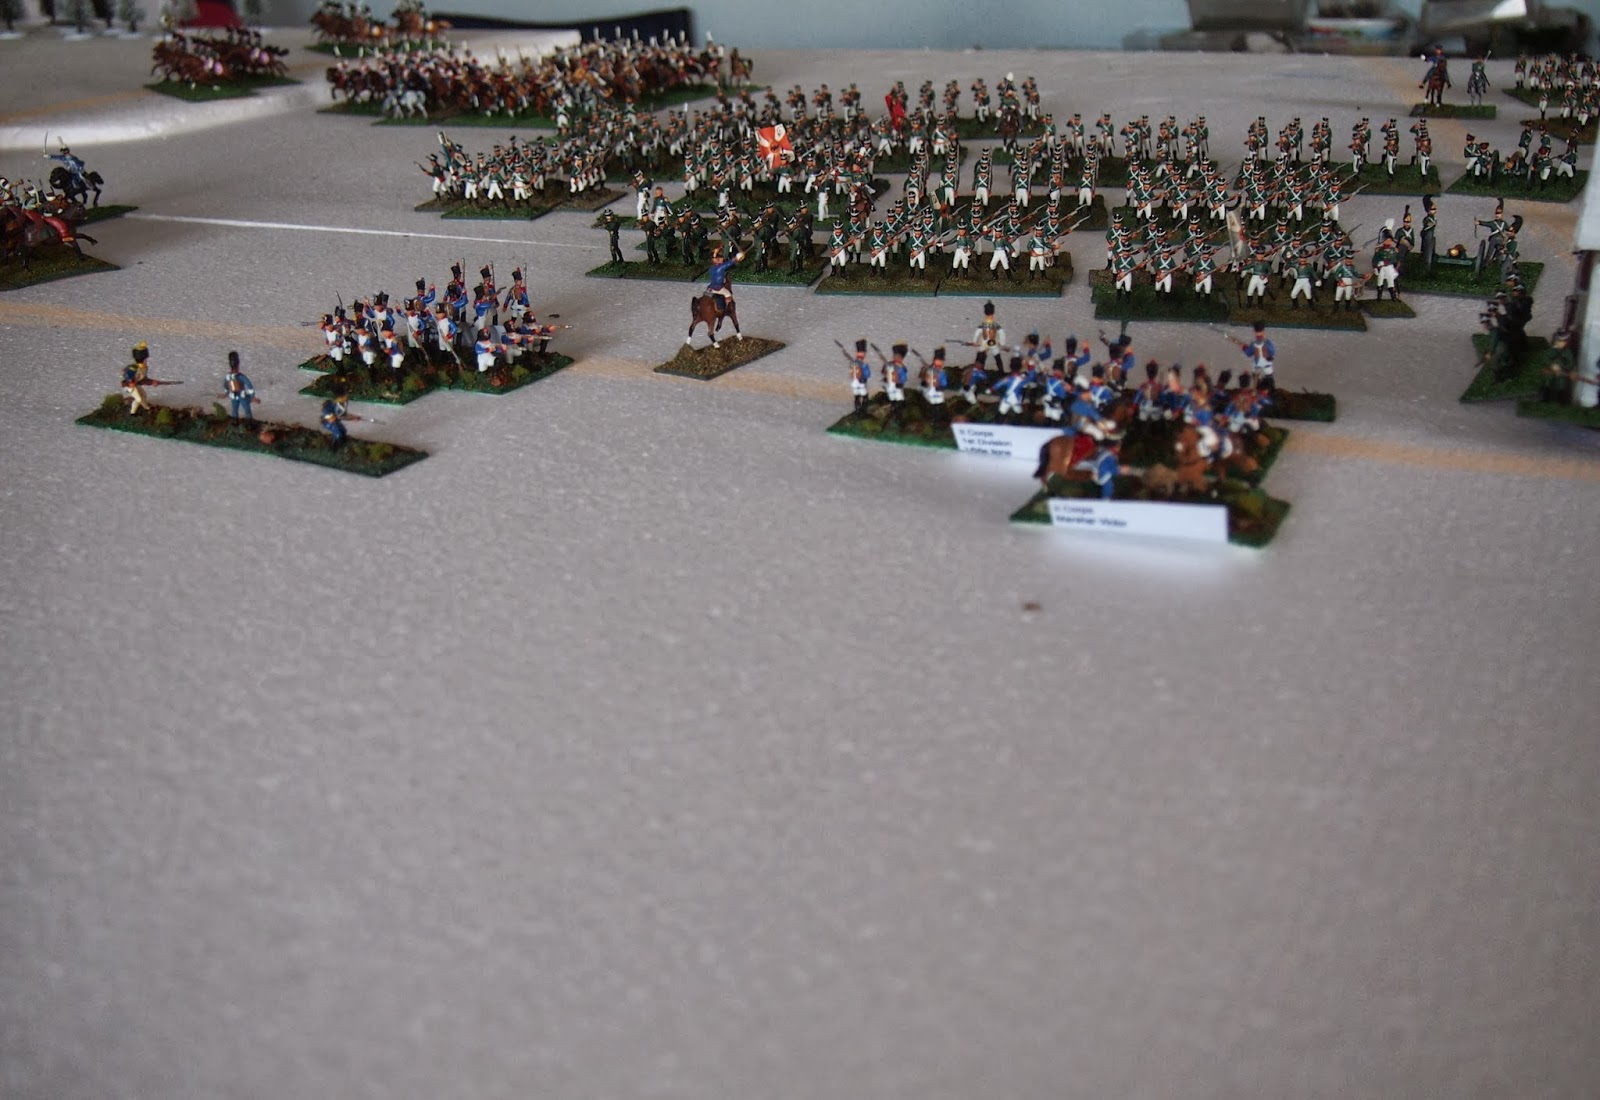
The two sides approached one another, the Russians in a line the French with each flank reinforced. Note the UDC behind each Russian unit. The cards for the French units are just off-table to the right of the photo.
Charge! The first units go in. The game works on a system of initiative with all actions for the unit that wins the initiative (based on a D6 plus initiative rating) completed before another pair of units test for initiative. It is possible to move more than one unit under the initiative of a commander.
A mêlée is deemed to be a “scrum with all figures of all units taking part”, so the figures are lined up, with additional figures ‘piling in’ and getting free ‘hits’.
In a mêlée the pairs of figures pair-off and roll against one another using a D8, D10 or D12, depending on the quality of the unit, which is modified for situation and special qualities. The highest modified score is a hit on his opponent, a draw is a hit on each. Additional figures cause free hits on the opposing side.
An evasion roll is made for each hit, using the best die available to the unit (a D8, D10 or D12 from its mêlée and firing dice), with a five or better being a successful evasion.
Sound familiar? Warhammer Napoleonics anyone?!
With a bit of successful ‘ganging up’, the French had the better of the early mêlées…
but then the commander let the blood run to his head, with disastrous results!
Back on the French right, the initially successful 2e company is in trouble.
In fact the Russians were gaining the upper hand everywhere…
and now had superior numbers in every mêlée.
With Capitàn a mêlée continues until one or the other side is eliminated, fails a morale test (when a small unit—2 figs or fewer), or successfully breaks off from the mêlée. This latter option seemed quite difficult and meant a -2 in the mêlée, so we did not use it, hence the fights to the ‘death’.
Thus it was one to the Russians in the best of three 'world series'!
From this first outing, Capitàn seem to be a pretty good set of rules for a fun skirmish game. It was definitely more of a pure ‘game’ than we are used to. A nice change to use such small numbers of troops, but more akin to a cowboy shoot out than anything particularly Napoleonic. Nevertheless, I thought enough of them to order the second edition. These arrived in early January and we discovered a few things that we had done wrong (like the morale test) and aspects that had been clarified, like how figures face off in a mêlée and breaking off from a mêlée.
So, I have another tale to relate of a cavalry action with ~100 figures per side, but that is for another time…
1 This has changed slightly in the second edition so that units are from 4 to 12 figures.